Follow Me On Social Media!
The Ultimate Chocolate Peanut Butter Cup Cake: A Decadent Masterpiece
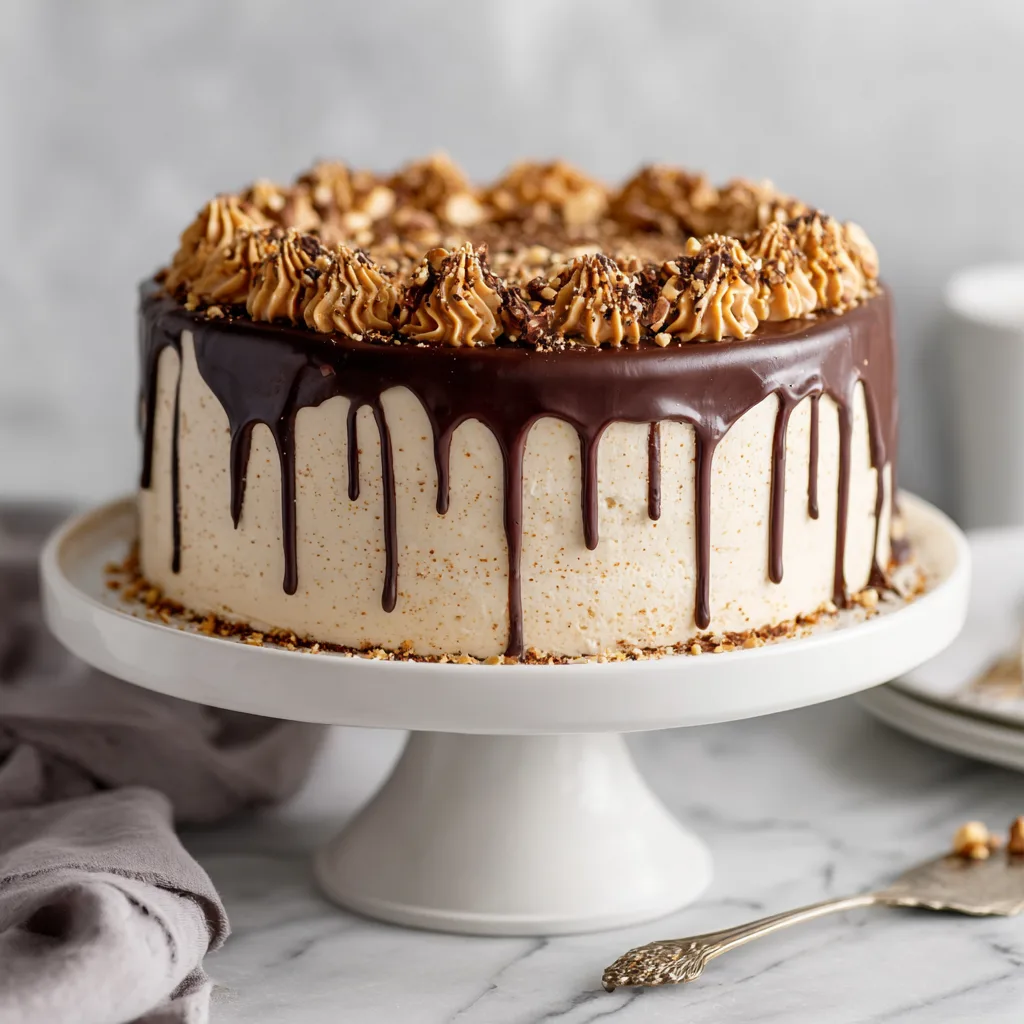
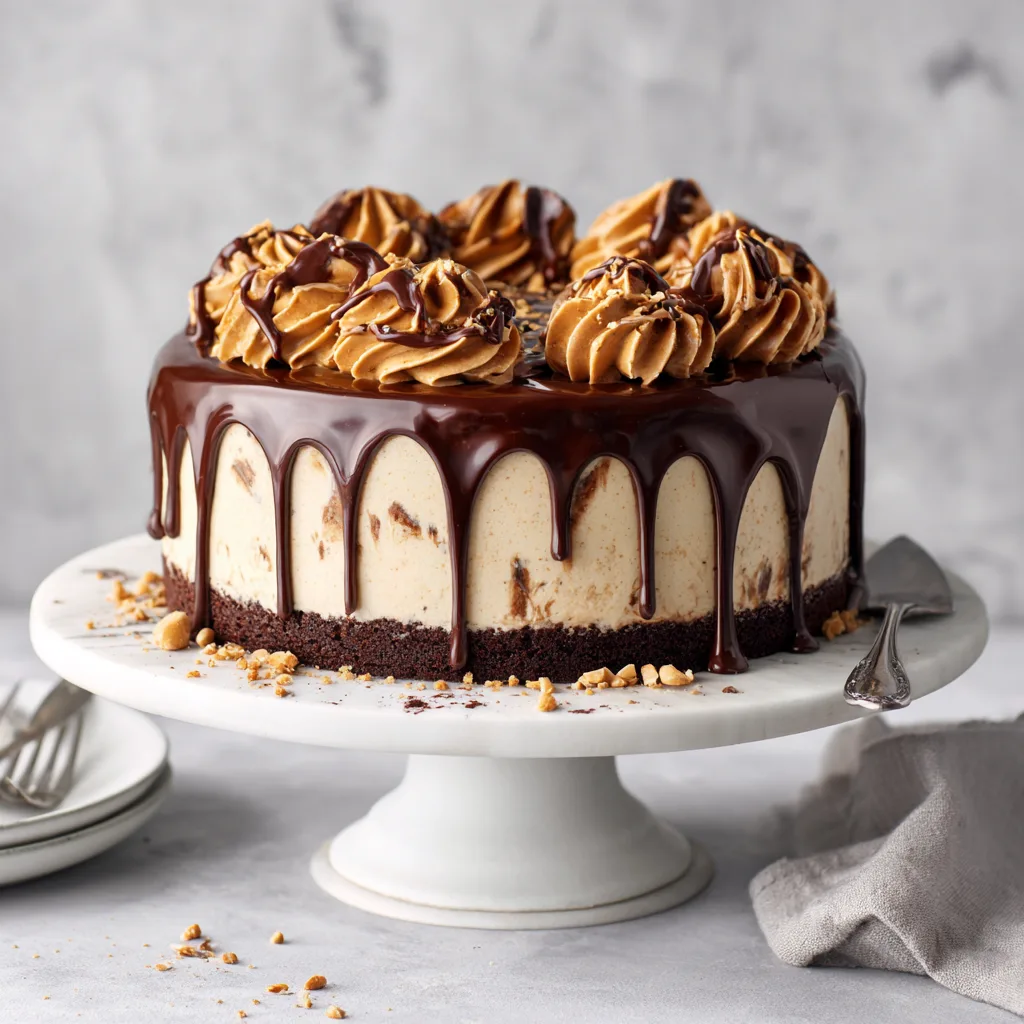
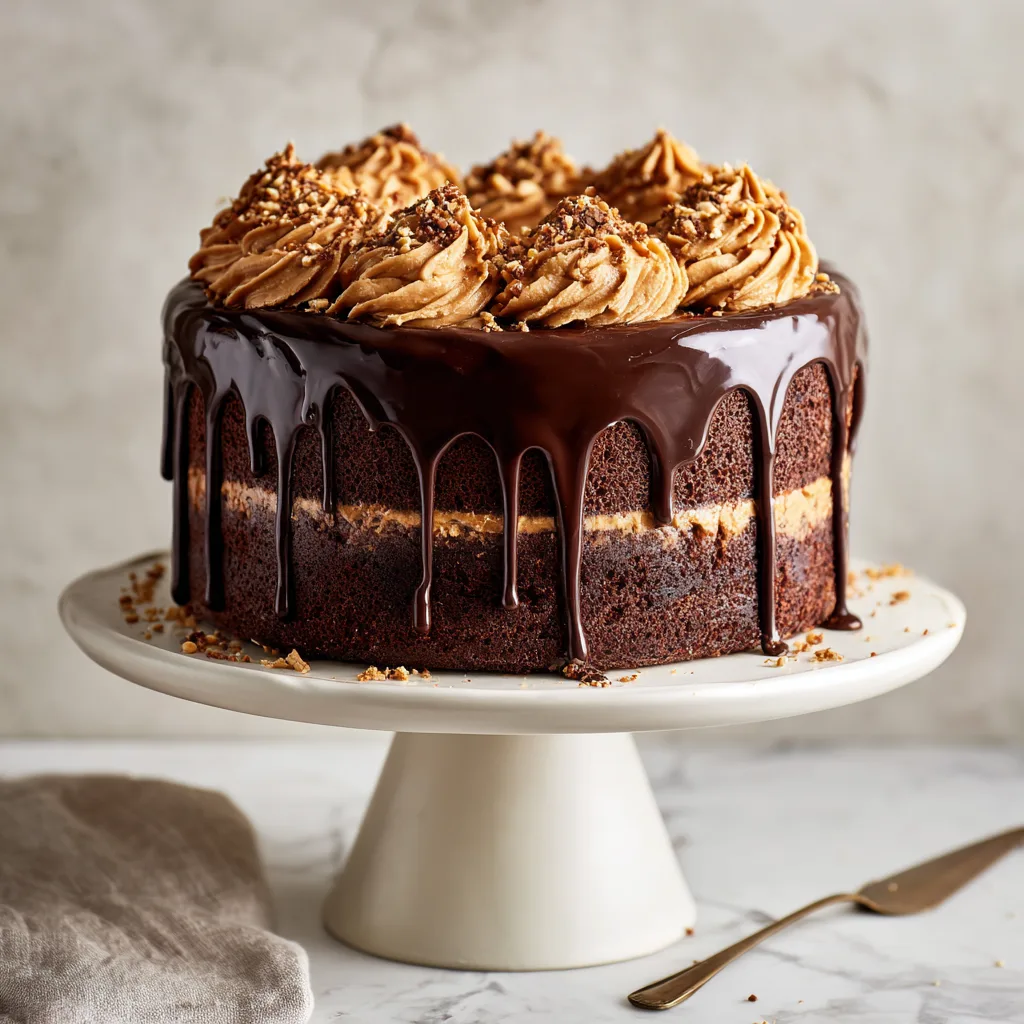
There are flavor combinations that are good, and then there are flavor combinations that are legendary. Chocolate and peanut butter undeniably fall into the latter category. It is a marriage of textures and tastes that has stood the test of time—the deep, slightly bitter complexity of dark cocoa perfectly balanced by the salty, creamy richness of peanut butter. This Chocolate Peanut Butter Cup Cake is a celebration of that union. It isn’t just a cake; it is an event. Standing tall with layers of moist, tender chocolate cake, filled and frosted with a cloud-like peanut butter buttercream, and crowned with a glossy, dripping chocolate ganache, this dessert is designed to impress.
Whether you are baking for a special birthday, a holiday gathering, or simply because you need a slice of happiness on a Tuesday, this recipe delivers on every front. It looks like it came straight from a high-end bakery display case, yet it is surprisingly achievable in your home kitchen. The visual appeal of the peanut butter cup halos and the dramatic ganache drip makes it a showstopper, but the flavor is what will have guests asking for seconds (and the recipe).
Why This Recipe Works
The secret to this cake’s success lies in the balance. Chocolate cakes can sometimes be too dry, or conversely, too dense and fudgy to the point of heaviness. This recipe uses a specific “boiling water” method for the chocolate sponge. By adding boiling water to the batter at the very end, we bloom the cocoa powder, releasing its full flavor potential while ensuring the crumb stays incredibly moist and tender for days.
Similarly, peanut butter frosting can easily become heavy or cloying. We’ve developed a buttercream that is light and airy, whipped to perfection with just enough heavy cream to make it spreadable and silky. It packs a punch of peanut butter flavor without feeling like you are eating a spoonful of it straight from the jar. The final touch—the ganache—adds a layer of luxury. It’s a simple mixture of chocolate and cream, but it provides a textural contrast to the soft frosting and cake, adding a smooth, melting mouthfeel that ties everything together.
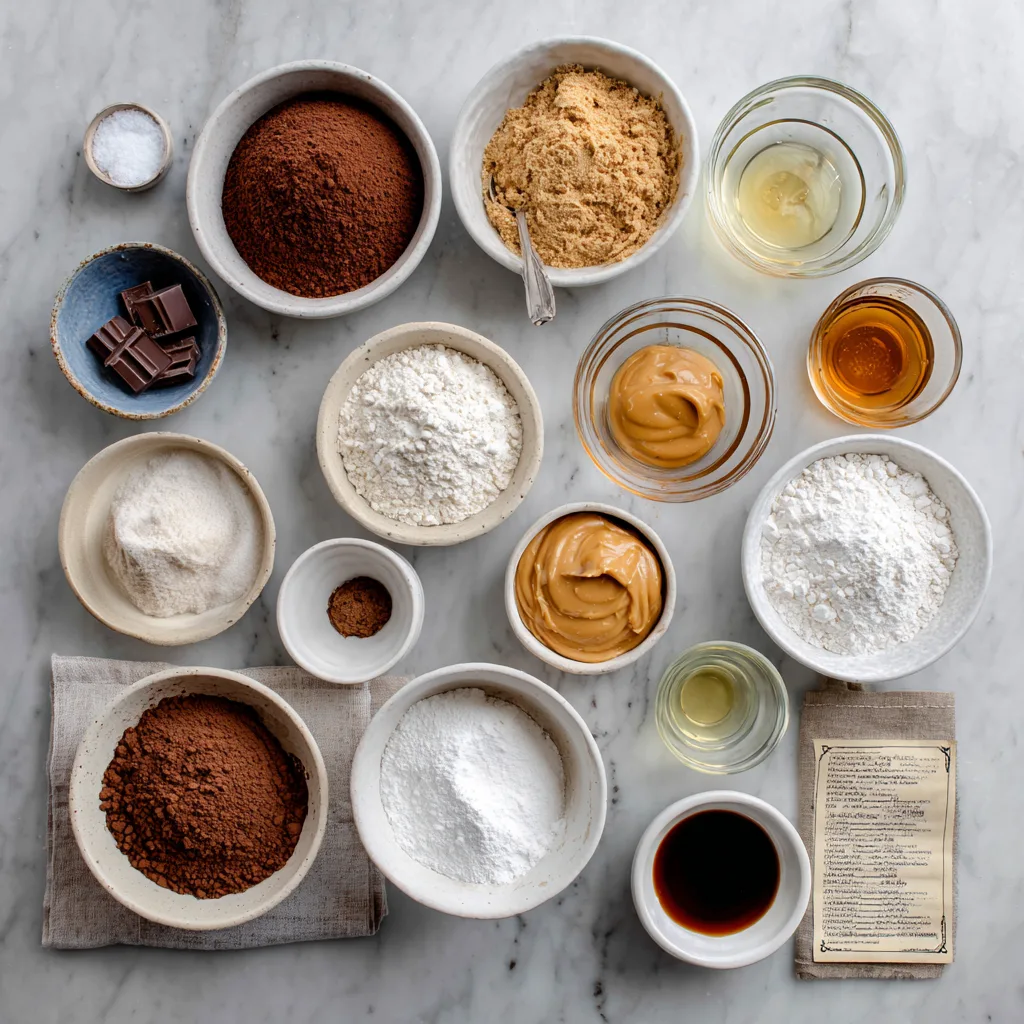
Ingredients
For the Chocolate Cake Layers
- All-Purpose Flour: Provides the structure. You can use cake flour for a slightly lighter crumb, but all-purpose works perfectly here.
- Granulated Sugar: Sweetens the cake and helps create a tender crumb.
- Unsweetened Cocoa Powder: Use a high-quality Dutch-processed cocoa for a darker color and smoother chocolate flavor.
- Baking Powder & Baking Soda: The dual leavening agents ensure the cake rises tall and airy.
- Salt: Essential to balance the sweetness and enhance the chocolate flavor.
- Eggs: Provide structure and richness. Room temperature eggs mix better.
- Buttermilk: Reacts with the baking soda to tenderize the gluten, resulting in a soft cake.
- Vegetable Oil: Using oil instead of butter in the cake batter guarantees a moist texture that stays soft even when refrigerated.
- Vanilla Extract: Enhances the chocolate flavor.
- Boiling Water: The magic ingredient that blooms the cocoa and creates a fluid batter for a moist cake.
For the Peanut Butter Frosting
- Unsalted Butter: Softened to room temperature is crucial for a smooth buttercream.
- Creamy Peanut Butter: Do not use “natural” peanut butter (the kind that separates) for this frosting. You need a standard creamy peanut butter like Jif or Skippy for stability.
- Powdered Sugar: Sweetens and thickens the frosting. Sifting is recommended to avoid lumps.
- Heavy Cream: Adds lightness and creaminess.
- Vanilla Extract: rounds out the flavor profile.
For the Chocolate Ganache & Garnish
- Semi-Sweet Chocolate Chips: The perfect balance of sweet and bitter to cut through the sugary frosting.
- Heavy Cream: Heated and poured over the chocolate to create the emulsion.
- Mini Peanut Butter Cups: Halved or whole, these are the crown jewels of the cake.
- Chopped Peanuts or Peanut Butter Chips: Optional, for added crunch and decoration.
Instructions
- Preheat and Prep: Preheat your oven to 350°F (175°C). Grease three 8-inch round cake pans or two 9-inch pans. Line the bottoms with parchment paper and grease the paper for easy release.
- Mix Dry Ingredients: In a large bowl or the bowl of a stand mixer, whisk together the flour, sugar, cocoa powder, baking powder, baking soda, and salt.
- Add Wet Ingredients: Add the eggs, buttermilk, oil, and vanilla extract. Beat on medium speed for about 2 minutes until everything is well combined and the batter is smooth. Scrape down the sides of the bowl.
- Add Boiling Water: Reduce the mixer speed to the lowest setting. Carefully pour in the boiling water. The batter will be very thin and liquid—this is normal! Do not overmix; just stir until combined.
- Bake: Divide the batter evenly between the prepared pans. Bake for 30–35 minutes, or until a wooden toothpick inserted into the center comes out clean or with just a few moist crumbs.
- Cool: Allow the cakes to cool in the pans for 10 minutes, then run a knife around the edges and invert them onto wire racks to cool completely before frosting.
- Make the Frosting: In a large bowl, beat the softened butter and creamy peanut butter together until smooth. Gradually add the powdered sugar, one cup at a time, mixing slowly. Add the vanilla and heavy cream. Increase speed to high and whip for 3-4 minutes until the frosting is fluffy and light.
- Assemble: Place one cake layer on your serving stand. Spread a thick layer of peanut butter frosting over the top. Repeat with the remaining layers. Use the remaining frosting to cover the top and sides of the cake. Smooth it out with a bench scraper or offset spatula. Chill the cake for 20 minutes to set the frosting.
- Make Ganache: Place chocolate chips in a heatproof bowl. Heat the heavy cream in a small saucepan or microwave until it just begins to simmer (do not boil over). Pour the hot cream over the chocolate. Let sit for 5 minutes, then whisk gently until smooth and glossy. Let it cool slightly until it thickens but is still pourable.
- Decorate: Pour the ganache over the center of the chilled cake. Use a spoon to gently push the chocolate over the edges to create the drip effect. Immediately press peanut butter cups into the top while the ganache is wet. Pipe swirls of leftover frosting between the cups if desired.
Tips for the Perfect Drip
Achieving that magazine-worthy drip can be intimidating, but it is all about temperature. If your ganache is too hot, it will run all the way down to the plate in a thin, messy pool. If it is too cold, it won’t drip at all.
To test, dip a spoon into your ganache and hold it over the bowl. It should flow off the spoon in a steady stream but mound slightly when it hits the surface of the chocolate in the bowl. If you are unsure, do a “test drip” on the back of the cake or a glass. If it runs too fast, let it cool for another 5 minutes. Chilling the frosted cake before adding the ganache also helps control the drip; the cold cake shocks the chocolate, slowing it down as it travels down the side.
Variations to Try
- Dark Chocolate Lover: Use dark cocoa powder in the cake and dark chocolate chips for the ganache for a less sweet, more intense flavor profile.
- Crunch Factor: Add a layer of chopped peanuts or crushed pretzels in between the cake layers on top of the frosting for a salty-sweet crunch.
- Cupcake Version: This batter makes excellent cupcakes. Bake for 18–22 minutes and pipe a tall swirl of peanut butter frosting on top, dipping the whole swirl in ganache.
- Mocha Twist: Add a tablespoon of instant espresso powder to the boiling water in the cake batter to deepen the chocolate flavor.
Storage and Serving
This cake is best served at room temperature, where the frosting is creamy and the sponge is softest. However, because of the dairy in the frosting and ganache, it should be stored in the refrigerator if you are keeping it for more than a day.
To store, place the cake in an airtight cake carrier or cover the cut section with plastic wrap to prevent it from drying out. It will keep in the fridge for up to 5 days. Remove the cake from the fridge about 1 to 2 hours before serving to allow it to come back to room temperature. You can also freeze individual slices wrapped tightly in plastic wrap and foil for up to 3 months.
Nutritional Note
Let’s be honest—this is a dessert for special occasions. It is rich in calories, sugar, and fats, exactly as a celebration cake should be. While we are all for balanced eating at the Nutri Flavor Guide, we also believe in the soul-nourishing power of a truly excellent slice of cake. Enjoy a slice mindfully, savor every bite, and share the rest with friends and family. The joy of baking and sharing is just as important as the ingredients themselves.
Chocolate Peanut Butter Cup Cake
A decadent layered chocolate cake with creamy peanut butter frosting, topped with a rich chocolate ganache drip and Reese’s cups.
Ingredients
Equipment
Method
- Preheat oven to 350°F (175°C). Grease and flour three 8-inch round pans.
- In a large bowl, whisk together sugar, flour, cocoa, baking powder, baking soda, and salt.
- Add eggs, milk, oil, and vanilla. Beat on medium speed for 2 minutes.
- Stir in boiling water by hand. Batter will be thin.
- Pour evenly into prepared pans. Bake 30-35 minutes until a toothpick comes out clean.
- Cool in pans for 10 minutes, then transfer to wire racks to cool completely.
- For frosting: Beat butter and peanut butter until smooth. Add powdered sugar, cream, and vanilla; beat until fluffy.
- Assemble cake: Frost between layers and cover the outside of the cake.
- Make ganache: Pour hot heavy cream over chocolate chips. Let sit 5 mins, then whisk until smooth.
- Pour ganache over the top of the chilled cake, letting it drip down the sides. Top with peanut butter cups.
Notes
Chill the frosted cake for 20 minutes before adding the warm ganache to ensure perfect drips.
Common Questions
Can I use natural peanut butter? It is not recommended for this specific frosting recipe. Natural peanut butter tends to separate and can cause the buttercream to break or become oily. Stick to standard commercial brands for the best texture.
My cake sank in the middle! What happened? This usually happens if the oven door was opened too early or if the leavening agents (baking soda/powder) were old. Avoid opening the oven until at least 25 minutes have passed, and always check expiration dates on your baking staples.
Can I make the cake layers ahead of time? Absolutely. The cake layers freeze beautifully. Bake them, let them cool completely, wrap them tightly in plastic wrap, and freeze for up to a month. You can even frost them while frozen; it actually makes the crumb coat easier to apply!
This Chocolate Peanut Butter Cup Cake is more than just a recipe; it’s a centerpiece. It draws people to the table and puts a smile on everyone’s face. So grab your mixing bowls, preheat that oven, and get ready to bake the most delicious cake you’ve ever tasted.