Follow Me On Social Media!
The Ultimate No-Bake Peanut Butter Pie: A Slice of Heaven for Peanut Butter Lovers
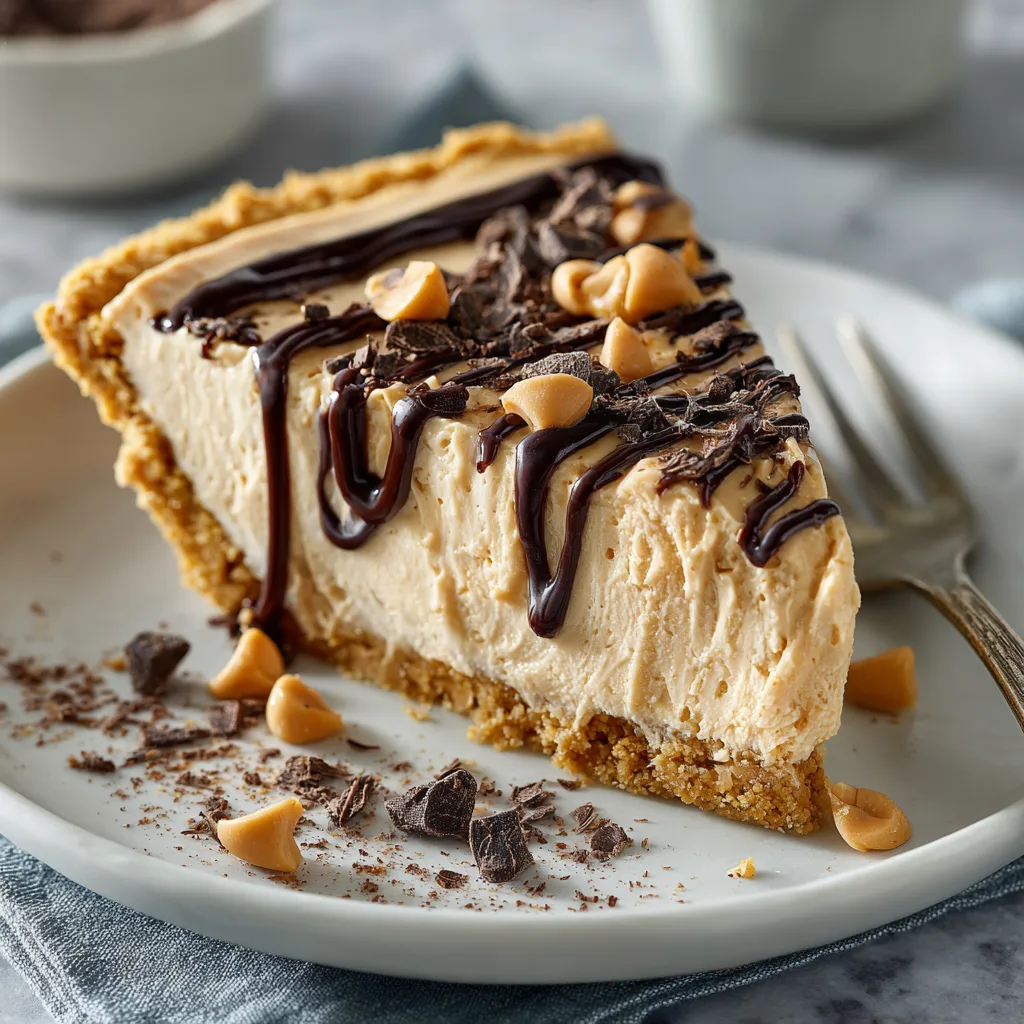
If there is a hierarchy of desserts in the culinary world, this No-Bake Peanut Butter Pie sits comfortably on the throne. It is the undisputed king of comfort treats, a masterpiece of textures that marries the salty, nutty richness of peanut butter with the sweet, velvety smoothness of cream cheese and whipped cream. But we didn’t stop there. This isn’t just a pie; it is an event. With a crunchy chocolate cookie crust and a topping that looks like it raided the candy aisle, this pie is designed to stop conversation and start cravings.
Imagine sinking your fork into a chilled, mousse-like filling that dissolves instantly on your tongue, followed by the satisfying crunch of a chocolate crust and the snap of cold chocolate ganache. It is decadent, it is impressive, and perhaps the best part? It requires absolutely no oven time. Whether you are hosting a summer barbecue where you want to keep the kitchen cool, or you need a show-stopping holiday dessert that frees up oven space, this recipe is your secret weapon.
This article will guide you through every step of creating this confectionery marvel. We will explore the science behind the perfect no-bake set, the importance of ingredient temperatures, and how to achieve that bakery-style presentation with minimal effort. We have optimized this recipe to be foolproof, ensuring that even novice bakers can produce a dessert that looks like it came straight from a high-end patisserie.
Why This Recipe Works
The magic of this pie lies in its balance. Peanut butter on its own can be dense and sticky. By folding in fluffy whipped cream and tangy cream cheese, we aerate the mixture, creating a filling that is light as a cloud but stable enough to slice cleanly. The chocolate crust provides the necessary bitterness to cut through the sweetness of the filling, while the toppings add a variety of textures—crunchy, chewy, and smooth—that make every bite interesting.
Furthermore, this recipe is a masterclass in time management. Because it requires chilling rather than baking, it is the perfect make-ahead dessert. In fact, it tastes even better after resting in the fridge overnight, allowing the flavors to meld and the crust to soften slightly from the moisture of the filling.
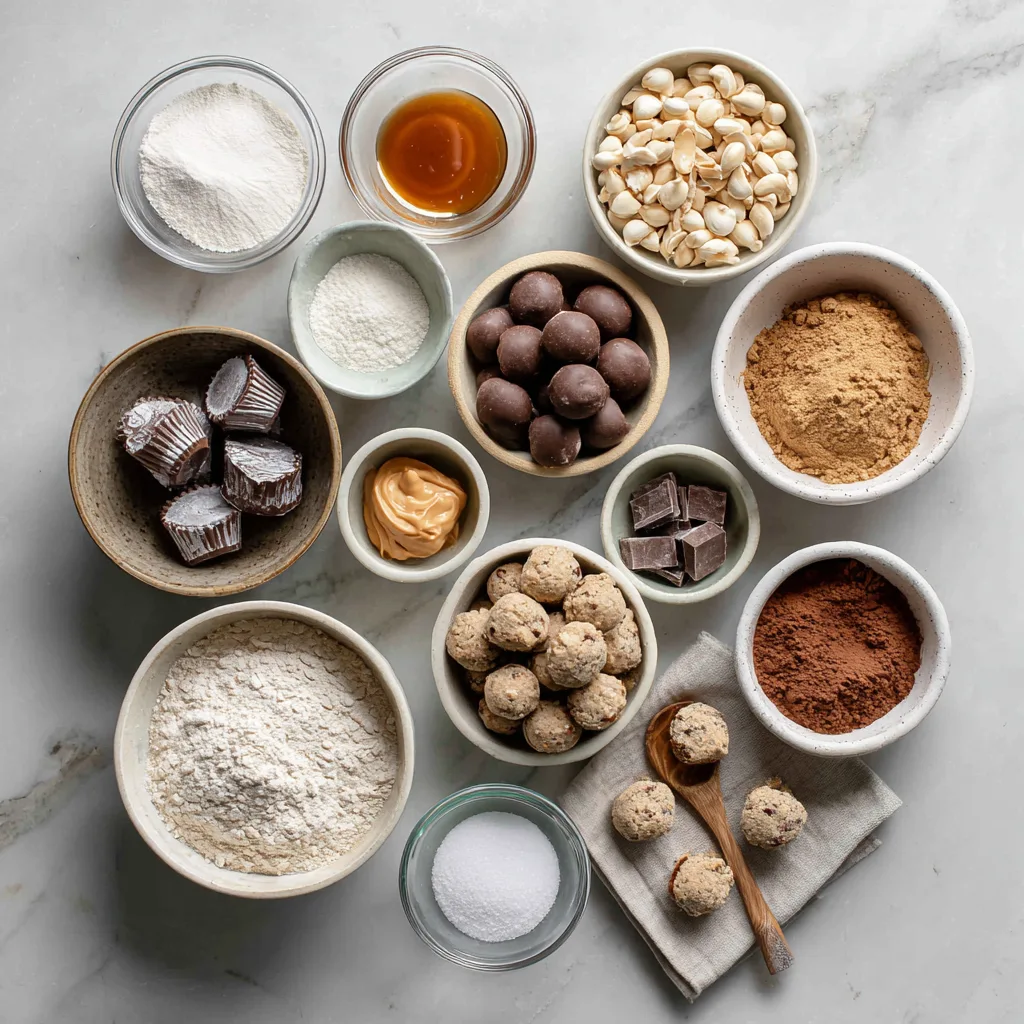
Ingredients
To achieve the perfect texture and flavor, high-quality ingredients are non-negotiable. Here is what you will need:
The Chocolate Cookie Crust:
- Chocolate Sandwich Cookies – We use standard chocolate sandwich cookies (like Oreos), including the cream filling. The filling acts as a binder, reducing the amount of added butter needed and ensuring the crust holds together.
- Unsalted Butter – Melted butter is the glue for our crust. Using unsalted allows us to control the sodium level, which is important since the peanut butter filling is already naturally salty.
The Peanut Butter Mousse Filling:
- Cream Cheese – Use full-fat, brick-style cream cheese. Tub varieties often contain more water and air, which can lead to a runny pie. It must be softened to room temperature to ensure a lump-free mixture.
- Peanut Butter – Creamy, commercial peanut butter (like Jif or Skippy) works best here. Natural peanut butters that require stirring can separate and cause the filling to weep oil.
- Powdered Sugar – Also known as confectioners’ sugar, this sweetens the filling and contains cornstarch, which helps stabilize the cream cheese and peanut butter mixture.
- Vanilla Extract – A splash of pure vanilla extract rounds out the flavors and adds a floral sweetness that complements the nuts.
- Heavy Whipping Cream – This is the engine of our volume. It must be cold to whip properly. We whip it to stiff peaks before folding it in to give the pie its mousse-like consistency.
The “Loaded” Toppings:
- Mini Peanut Butter Cups – Chopped into halves or quarters. These provide big pockets of peanut butter and chocolate.
- Peanut Butter Chips – For an extra hit of peanut butter flavor and a nice textural snap.
- Chocolate Ganache or Syrup – A simple drizzle of melted chocolate or high-quality fudge sauce adds a glossy finish and extra richness.
- Melted Peanut Butter – Drizzling melted peanut butter over the top enhances the visual appeal and aroma.
Instructions
Creating this masterpiece is a process of layering. Follow these steps for the best results:
- Prepare the Crust: Begin by crushing the chocolate sandwich cookies into a fine crumb. You can use a food processor for the most consistent texture, or place them in a zip-top bag and crush them with a rolling pin. Pour the crumbs into a medium bowl and mix in the melted butter until the mixture resembles wet sand. Press this mixture firmly into the bottom and up the sides of a 9-inch pie dish or springform pan. The tighter you pack it, the better the slices will hold. Place the crust in the freezer to set while you make the filling (at least 15 minutes).
- Cream the Base: In a large mixing bowl (or the bowl of a stand mixer fitted with the paddle attachment), beat the softened cream cheese and powdered sugar together until completely smooth and creamy. Scrape down the sides of the bowl to ensure no lumps remain. Add the peanut butter and vanilla extract, beating again until the mixture is uniform and fluffy.
- Whip the Cream: In a separate cold bowl, whip the heavy whipping cream until stiff peaks form. “Stiff peaks” means that when you lift the beater, the cream stands straight up without curling over. Be careful not to overbeat, or you will end up with butter.
- Fold and Fill: This is the most critical step for texture. Gently fold the whipped cream into the peanut butter mixture in three batches using a rubber spatula. Use a “cut and fold” motion—cut down the middle, scrape the bottom, and fold over. This preserves the air bubbles we just beat into the cream. Once combined and no white streaks remain, pour the filling into the chilled crust. Smooth the top with an offset spatula.
- The Chill: Place the pie in the refrigerator for at least 4 hours, preferably overnight. This chilling time is essential for the gelatin and fats to firm up, allowing you to cut clean, beautiful slices.
- Garnish: Just before serving, unleash your creativity. Scatter the chopped peanut butter cups and peanut butter chips generously over the top. Warm the chocolate sauce and peanut butter slightly so they are pourable, then drizzle them artistically over the pie.
Tips for Success
- Room Temperature is Key: Ensure your cream cheese is truly at room temperature. If it is cold, it will not blend with the peanut butter, leaving you with tiny white specks of cheese in your filling.
- Chill the Bowl: For the heavy cream, place your mixing bowl and beaters in the freezer for 10 minutes before whipping. Cold cream whips faster and to a higher volume.
- Clean Slices: To get those perfect, sharp edges on your slices, run your knife under hot water and wipe it dry before every cut. The heat will glide through the cold filling and crust.
- Make it a Square: If you don’t have a pie dish, this recipe works beautifully in an 8×8 or 9×9 square baking dish for “Peanut Butter Pie Bars.”
Variations to Try
While the classic recipe is perfection, you can easily tweak it to suit your preferences:
- The Pretzel Twist: Substitute half of the cookie crumbs in the crust with crushed pretzels. This amplifies the sweet-and-salty combo that makes peanut butter desserts so addictive.
- The Chocolate Lover: Add a layer of chocolate ganache (chocolate melted with hot cream) to the bottom of the crust before adding the peanut butter filling. This creates a hidden layer of fudge.
- Lighten Up: While less decadent, you can substitute the heavy whipping cream with a tub of frozen whipped topping (thawed). The texture will be slightly sweeter and less rich, but still delicious.
- Nutty Crunch: Fold ½ cup of chopped roasted peanuts directly into the filling for added texture inside the pie, not just on top.
Serving Suggestions
This pie is rich—very rich. A small slice goes a long way. Serve it alongside a hot cup of black coffee or an espresso; the bitterness of the coffee cuts through the sweetness and fat of the pie perfectly. A tall glass of cold milk is also a classic pairing that never fails.
For a dinner party, you can plate individual slices and garnish the plate with a swirl of raspberry coulis. The tart fruit acidity provides a sophisticated contrast to the heavy peanut butter and chocolate profile, elevating the dish from a home-style treat to a restaurant-quality dessert.
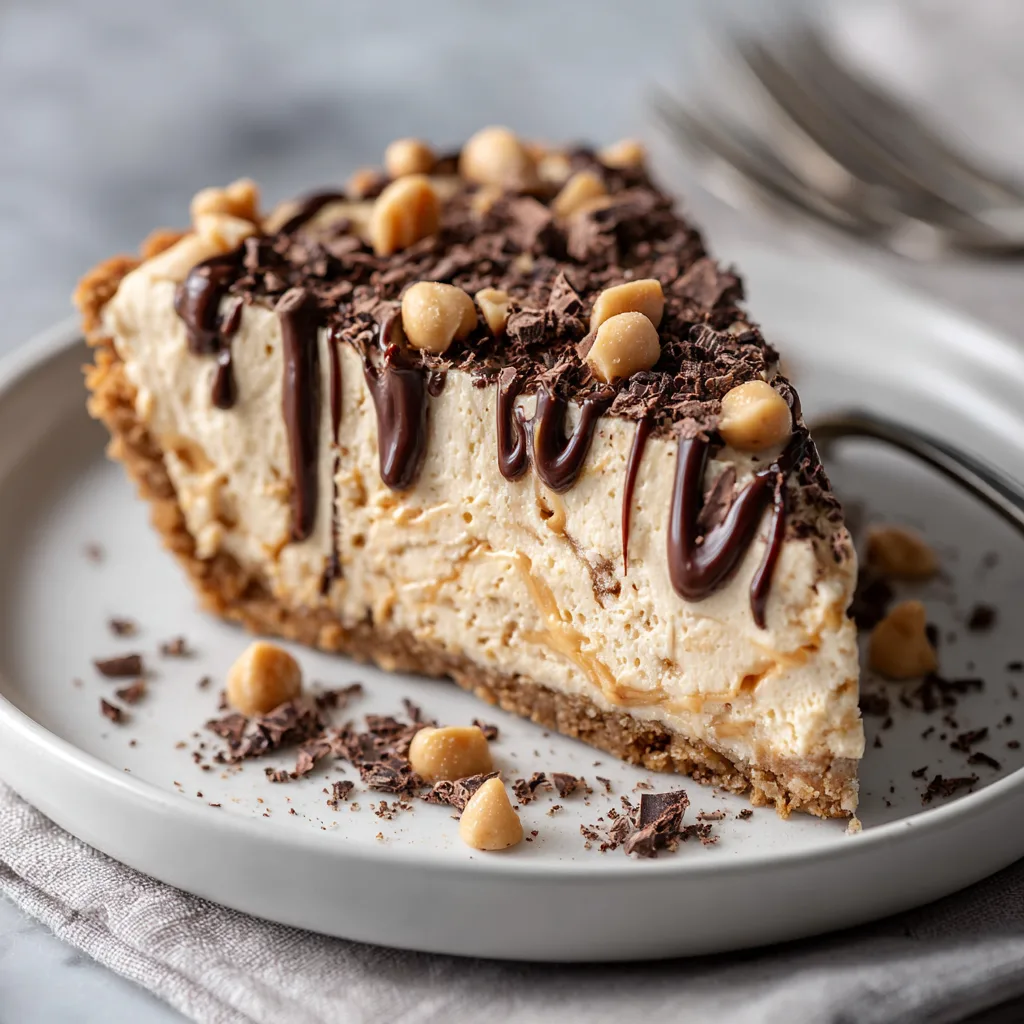
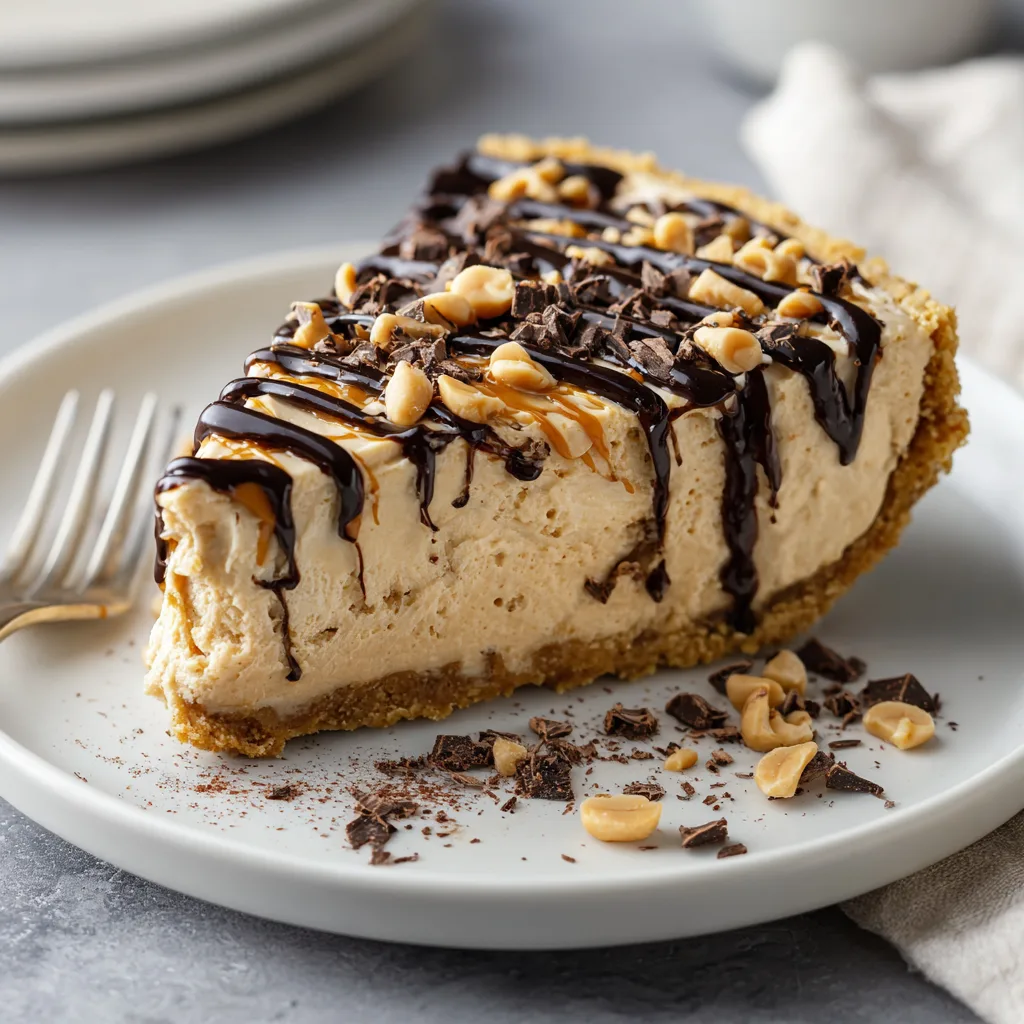
Loaded No-Bake Peanut Butter Pie
A decadent, creamy no-bake peanut butter pie with a chocolate cookie crust, topped with Reese’s cups, peanut butter chips, and chocolate drizzle.
Ingredients
Equipment
Method
- Crush cookies into fine crumbs and mix with melted butter.
- Press mixture firmly into the bottom and sides of a 9-inch pie dish. Freeze for 15 minutes.
- In a large bowl, beat softened cream cheese and powdered sugar until smooth.
- Add peanut butter and vanilla extract, beating until combined and fluffy.
- In a separate cold bowl, whip heavy cream until stiff peaks form.
- Gently fold whipped cream into the peanut butter mixture until no white streaks remain.
- Pour filling into the prepared crust and smooth the top.
- Refrigerate for at least 4 hours (or overnight) to set.
- Top with chopped peanut butter cups, peanut butter chips, and drizzle with melted chocolate and peanut butter before serving.
Notes
Ensure cream cheese is fully softened to avoid lumps. Chill the bowl for whipping cream for best volume.
Final Thoughts
This No-Bake Peanut Butter Pie is more than just sugar and cream; it is a celebration of flavor. It brings out the inner child in everyone who tastes it, reminiscent of trading peanut butter cups at Halloween, but elevated to a sophisticated, shareable format. It requires minimal equipment, no oven, and simple ingredients, yet the result is spectacular. Whether you are a seasoned baker or someone who burns toast, this recipe promises success. So grab your mixer, clear a spot in the fridge, and get ready to make the best dessert of your life.