Follow Me On Social Media!
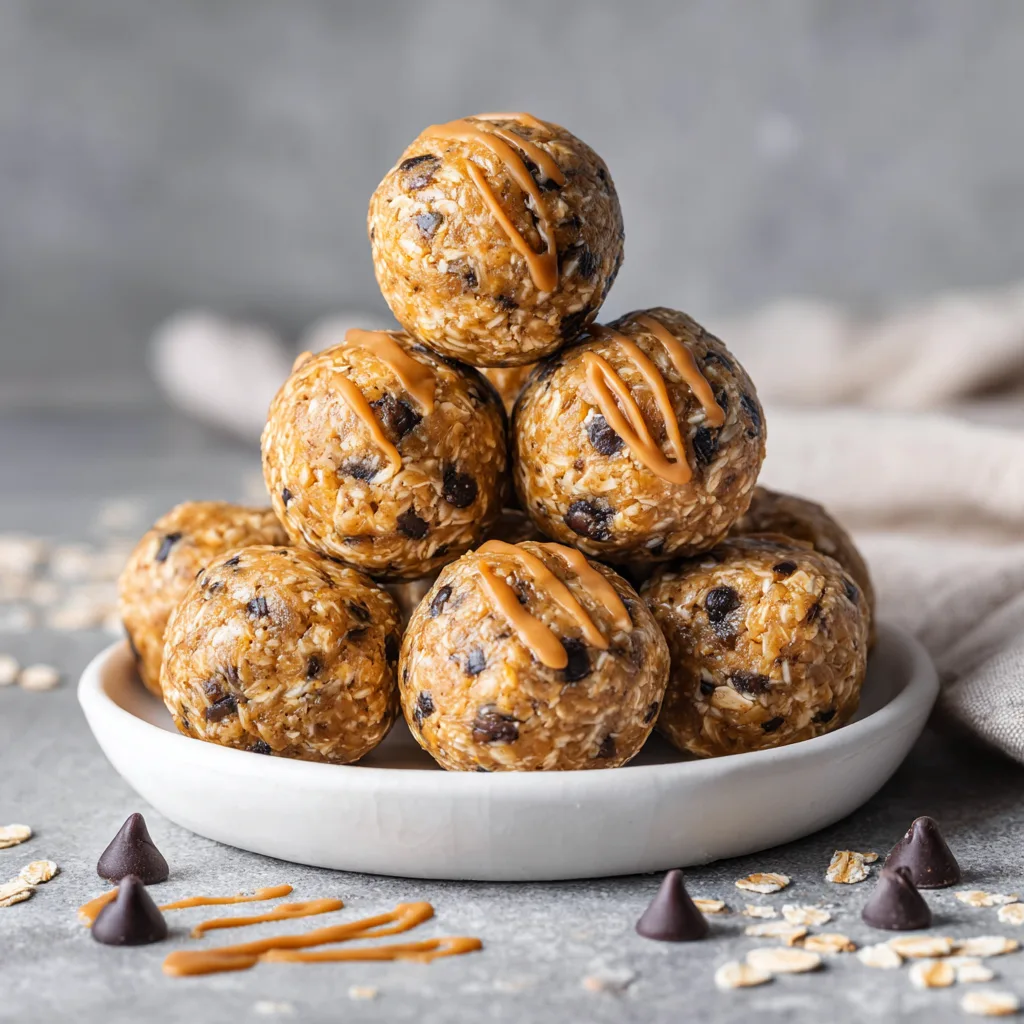
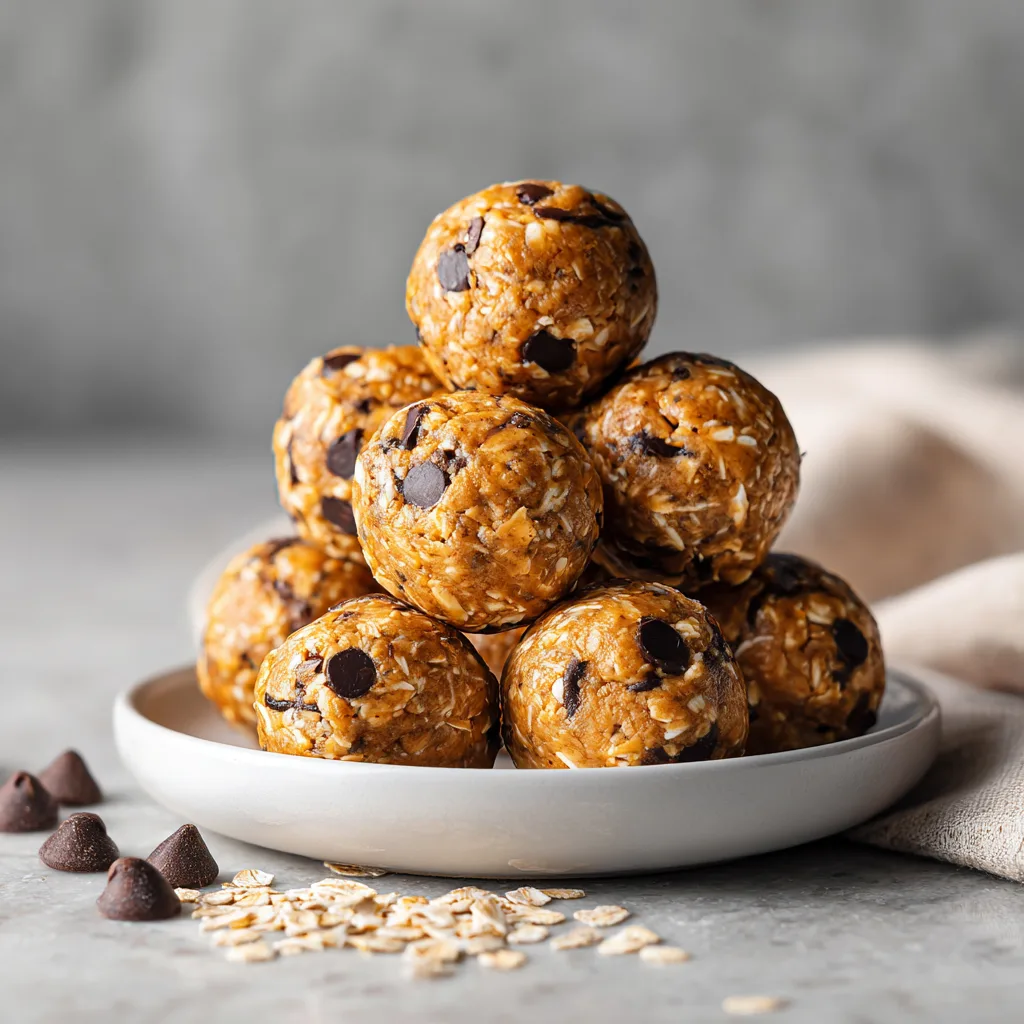
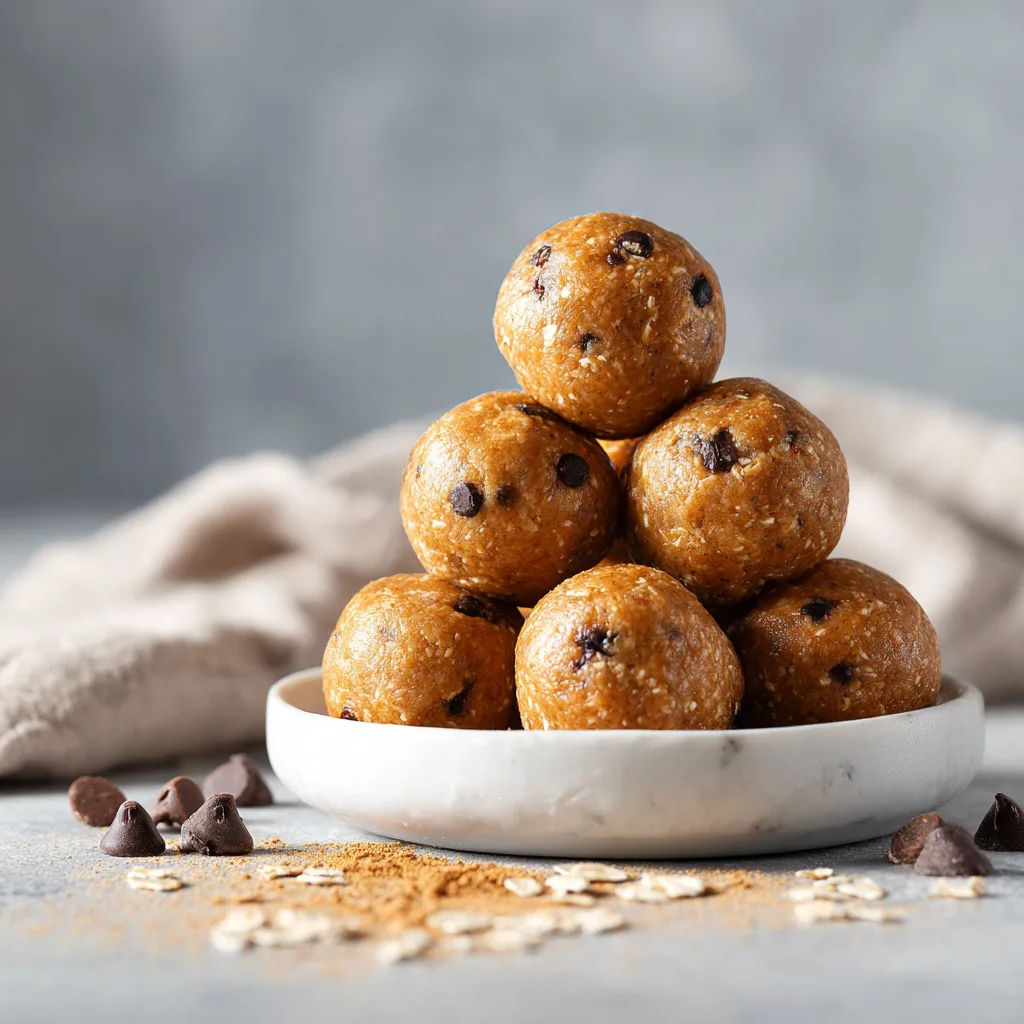
The Ultimate Guide to No-Bake Peanut Butter Protein Balls: A Power-Packed Snack
In the fast-paced world we live in, finding a snack that bridges the gap between nutritious fuel and indulgent treat can feel like an impossible quest. We often find ourselves staring into the pantry, torn between the sugary allure of a candy bar and the responsible choice of raw almonds. But what if you didn’t have to choose? Enter the No-Bake Peanut Butter Protein Ball—a bite-sized champion of the snacking world that delivers energy, satisfaction, and flavor without ever requiring you to turn on the oven.
This isn’t just another health fad recipe; it is a culinary staple for anyone looking to optimize their meal prep, fuel a workout, or simply keep the “hangry” demons at bay during a mid-afternoon slump. These protein balls are the perfect amalgamation of complex carbohydrates, healthy fats, and muscle-building protein, all rolled into a convenient, portable sphere. Whether you are a busy parent packing lunchboxes, a student needing brain food, or a fitness enthusiast looking for a post-gym recovery bite, this recipe is your new best friend.
Below, we will dive deep into the mechanics of the perfect protein ball, exploring everything from ingredient science to texture troubleshooting, ensuring that your first batch is nothing short of perfection.
Why This Recipe Deserves a Permanent Spot in Your Fridge
The beauty of these No-Bake Protein Balls lies in their simplicity and versatility. Unlike baked goods, which require precise chemistry and oven monitoring, this recipe is forgiving and flexible. It is a “dump and mix” method that yields gourmet-level results.
- Zero Cooking Required: In the heat of summer or the rush of a busy morning, the last thing you want to do is preheat an oven. These come together in a mixing bowl and set in the fridge.
- Macro-Friendly: They strike a nutritional balance. You get fiber from the oats, protein from the powder and peanut butter, and quick energy from the honey or maple syrup.
- Meal Prep Gold: A single batch can last up to two weeks in the refrigerator or months in the freezer. Making a double batch on Sunday guarantees you have grab-and-go snacks all week long.
- Kid-Approved: They taste like cookie dough. If you have picky eaters who refuse to eat their oatmeal, this is the Trojan Horse of nutrition.
The Anatomy of a Perfect Protein Ball
To master this recipe, it helps to understand the role of each ingredient. This isn’t just a random assortment of items; it’s a carefully constructed flavor and texture profile.
- Rolled Oats (The Foundation): We use old-fashioned rolled oats for this recipe. They provide the structural integrity of the ball. Unlike instant oats, which can become mushy, rolled oats retain a bit of chewiness that mimics the texture of a good oatmeal cookie. They are a fantastic source of beta-glucan fiber, which helps keep you full longer and regulates blood sugar levels.
- Creamy Peanut Butter (The Binder): Peanut butter acts as the glue that holds everything together. Its high fat content ensures the balls remain moist and don’t crumble apart. While you can use natural peanut butter (the kind you have to stir), a standard creamy peanut butter often provides a smoother, more cohesive texture. If you choose natural, ensure it is extremely well-stirred and thick.
- Honey or Maple Syrup (The Sweetener): This is your sticky agent. While the peanut butter provides fat, the liquid sweetener provides the viscosity needed to bind the dry oats and protein powder. Honey offers a floral note and a stickier consistency, while maple syrup adds a rich, woody sweetness that pairs beautifully with oats.
- Protein Powder (The Boost): This is where you customize the nutritional profile. A vanilla or chocolate whey protein works best for flavor, but plant-based proteins (pea, soy, or rice) work equally well. The powder absorbs moisture, so it acts almost like flour in a cookie dough, thickening the mixture so it can be rolled.
- Chocolate Chips (The Soul): Let’s be honest—everything is better with chocolate. Mini chocolate chips are recommended here because they distribute more evenly throughout the ball, ensuring you get a bit of chocolate in every bite. Dark chocolate adds antioxidants, while semi-sweet is the classic choice.
Step-by-Step Instructions for Success
Making these is easy, but a few technique tips will ensure they look as good as they taste.
1. Mixing the Wet Ingredients First: Always start by combining your peanut butter, honey (or syrup), and vanilla extract. Whisking these together creates a uniform “sauce.” If you throw everything in at once, you might end up with pockets of dry protein powder or clumps of sticky honey.
2. Incorporating the Dry: Add the protein powder and salt to the wet mix first, stirring until you have a sludge-like consistency. Then, fold in the oats. This ensures the protein powder is fully hydrated before the oats are introduced.
3. The Chill Factor: If the mixture feels too sticky to roll immediately, let it sit in the refrigerator for 15-20 minutes. The oats will absorb some of the moisture, and the peanut butter will firm up, making the rolling process significantly less messy.
4. Uniform Sizing: Use a small cookie scoop or a tablespoon measure to portion out the dough. This isn’t just for aesthetics; uniform balls will chill at the same rate and make tracking nutrition easier.
Ingredients
- 1 ½ cups Old-Fashioned Rolled Oats (Gluten-free if necessary)
- ⅔ cup Creamy Peanut Butter (or almond butter)
- ½ cup Protein Powder (Vanilla or Chocolate flavor)
- ⅓ cup Honey or Maple Syrup
- ½ cup Mini Chocolate Chips
- 1 tsp Vanilla Extract
- pinch of Sea Salt
- 1-2 tbsp Milk or Water (only if mixture is too dry)
Instructions
- Prepare a baking sheet or large plate by lining it with parchment paper. This prevents the balls from sticking while they set.
- In a large mixing bowl, combine the peanut butter, honey (or maple syrup), and vanilla extract. Stir vigorously until the mixture is smooth and fully combined.
- Add the protein powder and salt to the wet mixture. Stir until the powder is dissolved and the mixture is thick.
- Pour in the rolled oats. Use a sturdy spatula or a wooden spoon to fold the oats into the mixture. It will be thick! Ensure every oat is coated.
- Fold in the chocolate chips last. If the mixture is still warm from mixing, let it cool for a minute so the chips don’t melt.
- Texture Check: Pinch a small amount of dough between your fingers. If it holds together, it’s ready. If it crumbles, add milk or water one teaspoon at a time until it binds. If it’s too wet, add another tablespoon of oats.
- Using a small cookie scoop or your hands, roll the mixture into 1-inch balls. Press them firmly together as you roll to ensure they are compact.
- Place the balls on the prepared parchment paper.
- Refrigerate for at least 30 minutes to allow them to set and firm up.
- Store in an airtight container in the refrigerator for up to 2 weeks.
Tips, Variations, and Customizations
The base recipe is just a starting point. Here is how you can adapt these energy bites to suit your lifestyle and pantry availability.
- The “Nut-Free” School Safe Version: Many schools have strict nut-free policies. You can easily swap the peanut butter for sunflower seed butter or soy nut butter. The texture remains largely the same, though the flavor will be earthier.
- The Fiber Boost: If digestion is a priority, add a tablespoon of chia seeds or ground flaxseeds. These seeds absorb moisture, so you may need to add an extra splash of liquid, but they provide a massive boost of Omega-3 fatty acids and fiber without altering the taste.
- The Vegan Option: Use maple syrup or agave instead of honey. Ensure your protein powder is plant-based (pea protein is a great choice) and use dairy-free chocolate chips.
- Flavor Twists:
- Cinnamon Raisin: Omit the chocolate chips and add ½ cup raisins and ½ teaspoon cinnamon.
- Almond Joy: Use almond butter, add ¼ cup shredded coconut, and use dark chocolate chips.
- Double Chocolate: Add a tablespoon of cocoa powder to the dry mix for a truffle-like experience.
Troubleshooting Common Issues
Even the simplest recipes can have hiccups. Here is how to fix them.
- “My balls are falling apart!” This usually means the mixture is too dry. This can happen if your protein powder is very absorbent or your peanut butter was the dry, crumbly stuff at the bottom of the jar. Add water, milk, or more liquid sweetener in small increments until the dough becomes tacky.
- “The mixture is a sticky mess!” You likely have too much liquid or not enough oats. Add more oats or a tablespoon of coconut flour (which is highly absorbent) to dry it out. Wetting your hands slightly with water before rolling can also prevent the dough from sticking to your skin.
Serving Suggestions
While these are perfect straight out of the fridge, you can elevate the experience. Try crumbling a protein ball over your morning yogurt parfait for added texture. They also pair wonderfully with a sliced banana and coffee as a pre-workout breakfast.
Storage and Freezing
These are the ultimate meal-prep item because they preserve beautifully.
- Fridge: Keep them in an airtight container for up to 2 weeks.
- Freezer: Place the balls on a baking sheet in the freezer for one hour until frozen solid. Then, transfer them to a freezer-safe bag or container. They will last for up to 3 months. You can eat them frozen (they don’t freeze rock hard due to the fat content) or let them thaw on the counter for 5 minutes.
No-Bake Peanut Butter Protein Balls
Easy, 10-minute energy bites packed with oats, peanut butter, and protein. The perfect meal-prep snack.
Ingredients
Equipment
Method
- Line a baking sheet or large plate with parchment paper.
- In a large bowl, mix peanut butter, honey, and vanilla extract until smooth.
- Stir in protein powder and salt until combined.
- Fold in rolled oats until fully coated by the mixture.
- Stir in chocolate chips.
- If mixture is too crumbly, add milk/water one teaspoon at a time. If too sticky, chill for 15 minutes.
- Scoop and roll mixture into 1-inch balls.
- Place on prepared sheet and refrigerate for 30 minutes to set. Store in the fridge.
Notes
Use wet hands to roll if the dough is sticky.
Conclusion
No-Bake Peanut Butter Protein Balls prove that healthy eating doesn’t have to be complicated, time-consuming, or bland. With a few pantry staples and ten minutes of effort, you can create a snack that supports your health goals and satisfies your sweet tooth simultaneously. Whether you are fueling for a marathon or just powering through a marathon meeting at work, these little spheres of energy are the perfect companion. So grab your mixing bowl, roll up your sleeves, and get ready to make the most delicious “fast food” you’ve ever had.