
Follow Me On Social Media!
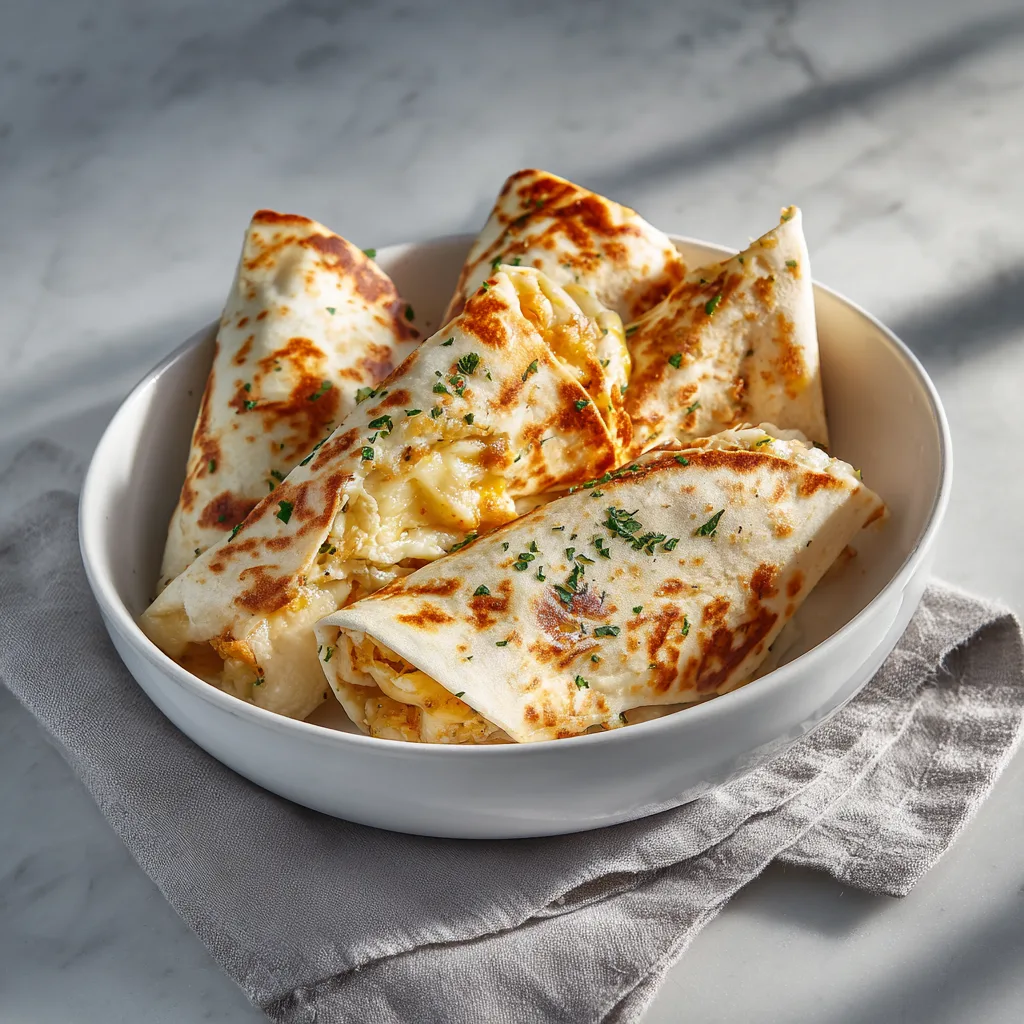
The Ultimate Cheesy Garlic Chicken Wraps: A Flavor Explosion in Every Bite
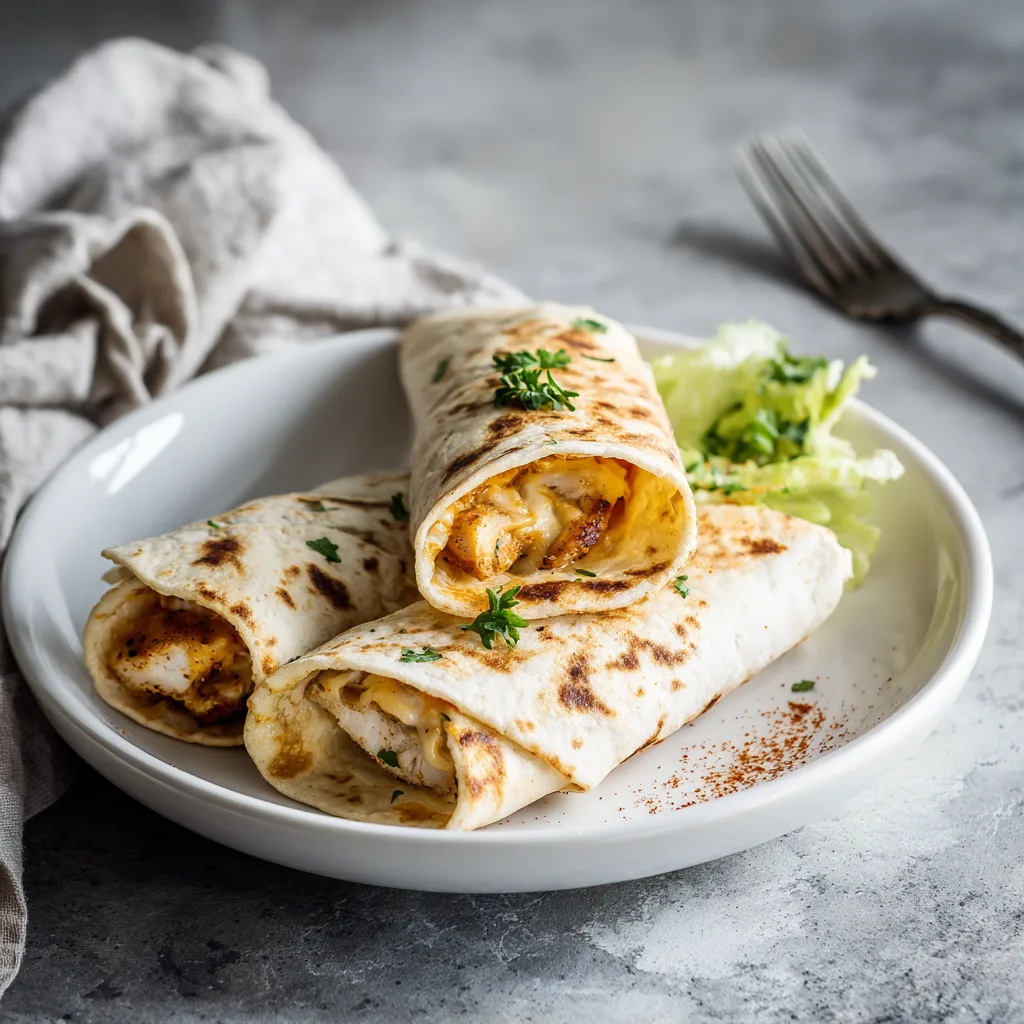
There are few things in the culinary world as satisfying as a perfectly executed wrap. It is the ultimate vessel for flavor—a portable, handheld feast that combines texture, temperature, and taste into one neat package. But not all wraps are created equal. Today, we are diving deep into a recipe that transforms simple pantry staples into a gourmet experience: Cheesy Garlic Chicken Wraps. This isn’t just lunch; it is a celebration of savory roasted chicken, molten cheese, and a secret weapon—a homemade creamy garlic sauce that you will want to drizzle on absolutely everything.
Whether you are looking for a quick weeknight dinner, a high-protein post-workout meal, or a crowd-pleasing party snack, this recipe checks every single box. It is crispy on the outside, gooey on the inside, and packed with bold, savory notes that hit the palate in waves.
Why This Recipe Works
The genius of this dish lies in the balance of textures and the layering of flavors. Often, chicken wraps can suffer from being dry or bland. We solve the dryness issue with a two-pronged approach: first, the chicken is seasoned heavily with a spice blend that locks in moisture during the sear. Second, the creamy garlic sauce acts as a barrier and a flavor enhancer, ensuring that every bite is juicy.
The texture comes from the cooking method. By searing the filled wraps in a hot skillet or panini press, we create a crunchy exterior shell. This crunch provides the necessary contrast to the soft tortilla, the tender chicken, and the melted cheese. It mimics the satisfaction of biting into a hard-shell taco but with the structural integrity of a soft burrito.
Furthermore, this recipe is highly adaptable. It serves as a perfect canvas for your nutritional needs. Want more fiber? Swap in a low-carb or whole-wheat tortilla. Need more veggies? Spinach, diced bell peppers, or caramelized onions slide right into the filling without compromising the structural integrity of the wrap.
The Star Ingredient: The Garlic Sauce
Let’s talk about the sauce because it truly is the heart of this recipe. While you could grab a bottle of ranch or garlic aioli from the store, making your own takes less than three minutes and changes the game entirely. The base is a mixture of mayonnaise and sour cream (or Greek yogurt for a tangier, lighter version). The mayonnaise provides the rich, creamy mouthfeel, while the sour cream adds a necessary acidic brightness that cuts through the savory fat of the cheese and chicken.
To this base, we add fresh minced garlic and garlic powder. Why both? Fresh garlic provides that sharp, pungent kick that hits the front of your palate, while garlic powder offers a mellow, roasted, savory undertone that lingers. A splash of lemon juice wakes up the heavy creaminess, and dried parsley adds a touch of color and earthiness. This sauce binds the filling together, preventing the dreaded “ingredient crumble” where the contents of your wrap fall out after the first bite.
Selecting the Right Chicken
For this recipe, boneless, skinless chicken breasts are the standard choice due to their lean profile and ability to absorb the marinade quickly. However, chicken thighs are a fantastic alternative if you prefer darker, more succulent meat. Thighs are more forgiving if you accidentally overcook them, maintaining their juiciness even under high heat.
The key to flavorful chicken for these wraps is cutting the meat into small, uniform bite-sized pieces before cooking. This maximizes the surface area for the seasoning to cling to. Instead of seasoning the outside of a large breast and then chopping it (leaving the inside bland), we coat every single cube in our spice rub. This ensures that the flavor penetrates the meat and is distributed evenly throughout the wrap.
The Cheese Factor
“Cheesy” is the first word in the title for a reason. You want a cheese that melts beautifully but also carries enough flavor to stand up to the garlic. A blend is usually best.
- Mozzarella: The king of the cheese pull. It melts easily and provides that luxurious, stringy texture we all love.
- Sharp Cheddar: Adds a bite and a depth of flavor that mozzarella lacks.
- Monterey Jack: A great middle-ground cheese that melts well and has a mild, buttery flavor.
For the best results, grate your own cheese from a block. Pre-shredded bagged cheese is coated in potato starch or cellulose to prevent clumping in the bag. Unfortunately, these anti-caking agents also prevent the cheese from melting together smoothly, often resulting in a grainy texture. Taking the extra two minutes to grate a block of cheddar will result in a significantly smoother, creamier filling.
Ingredients
For the Chicken Filling:
- 1.5 lbs boneless, skinless chicken breasts (diced into 1/2 inch cubes)
- 1 tbsp olive oil
- 1 tsp paprika (smoked paprika is excellent for a BBQ vibe)
- 1 tsp onion powder
- 1 tsp garlic powder
- 1/2 tsp dried oregano
- 1/2 tsp salt
- 1/4 tsp black pepper
- 1/4 tsp cayenne pepper (optional, for a little heat)
For the Creamy Garlic Sauce:
- 1/2 cup mayonnaise
- 1/4 cup sour cream (or plain Greek yogurt)
- 2 cloves fresh garlic, minced (or pressed)
- 1 tsp lemon juice (freshly squeezed is best)
- 1/2 tsp dried parsley
- Pinch of salt and black pepper to taste
Assembly:
- 4-6 large flour tortillas (burrito size works best)
- 2 cups shredded cheese blend (Mozzarella and Cheddar)
- 1 tbsp butter (for grilling the wraps)
- Fresh parsley or cilantro for garnish
Instructions
- Prepare the Sauce: In a small mixing bowl, whisk together the mayonnaise, sour cream, minced garlic, lemon juice, dried parsley, salt, and pepper. Taste and adjust seasoning if needed. Cover and place in the refrigerator while you cook the chicken; this allows the flavors to meld together.
- Season the Chicken: Place the diced chicken breast in a large bowl. Drizzle with olive oil and sprinkle with paprika, onion powder, garlic powder, oregano, salt, black pepper, and cayenne. Toss well until every piece of chicken is evenly coated in the spice blend.
- Cook the Chicken: Heat a large skillet over medium-high heat. Add the chicken in a single layer (you may need to do this in two batches to avoid overcrowding the pan, which causes steaming rather than searing). Cook for 6-8 minutes, stirring occasionally, until the chicken is golden brown and cooked through (internal temperature of 165°F/74°C). Remove from heat.
- Warm the Tortillas: Place your tortillas on a microwave-safe plate, cover with a damp paper towel, and microwave for 20-30 seconds. This makes them pliable and prevents them from tearing when you fold them.
- Assemble the Wraps: Lay a tortilla flat. Spread a generous tablespoon of the garlic sauce in the center. Top with a handful of the cooked chicken and a generous sprinkle of the shredded cheese. Drizzle a little more sauce on top if desired.
- Fold: Fold the sides of the tortilla in toward the center. Then, fold the bottom edge up over the filling and roll tightly until the wrap is closed. The sauce acts as a bit of “glue” to help hold it together.
- Grill: Wipe out the skillet used for the chicken (or use a clean pan/griddle). Melt the tablespoon of butter over medium heat. Place the wraps seam-side down in the pan. This seals the wrap shut.
- Crisp and Melt: Cook for 2-3 minutes per side, or until the tortilla is golden brown and crispy, and the cheese inside is fully melted.
- Serve: Remove from the pan, let them rest for a minute (the filling will be very hot!), cut in half diagonally, and serve immediately with any remaining garlic sauce for dipping.
Tips for the Perfect Wrap
- Don’t Overfill: It is tempting to stuff as much chicken and cheese as possible into the tortilla, but overfilling leads to messy leaks and torn tortillas. Stick to the amounts listed, or use “burrito-sized” tortillas if you have a hearty appetite.
- The Seam-Side Down Rule: Always, always start grilling with the seam side down. As the tortilla crisps up, it hardens, essentially “welding” the seam shut so your wrap stays intact while you eat it.
- Make Ahead: You can cook the chicken and make the sauce up to 3 days in advance. Store them in separate airtight containers in the fridge. When you are ready to eat, simply assemble the wraps and grill them fresh. This makes for a lightning-fast lunch prep.
Creative Variations
1. The Spicy Buffalo Version: Add 2 tablespoons of buffalo wing sauce to the cooked chicken and toss to coat. Add some crumbled blue cheese to the filling along with the mozzarella. This gives you that classic buffalo chicken flavor with the cooling garlic sauce.
2. The Bacon Ranch Twist: Crisp up 4 slices of bacon and crumble them. Add the bacon bits to the wrap along with the chicken. Swap the garlic sauce for a ranch dressing or add dill to the existing garlic sauce recipe for a ranch-like profile.
3. The Veggie-Packed Power Wrap: Sauté spinach, diced red peppers, and onions in the pan after removing the chicken. Add these veggies to the wrap to boost the nutritional volume. You can also add avocado slices, though it is best to add those fresh right before closing the wrap, as warm avocado isn’t for everyone.
4. The “Philly” Style: Season the chicken with steak seasoning instead of the paprika blend. Sauté sliced onions and green peppers until soft. Use Provolone cheese instead of cheddar. It’s a chicken cheesesteak in a portable package.
Storage and Reheating
If you have leftovers (which is rare!), wrap them tightly in aluminum foil.
- Refrigerate: Up to 3 days.
- Freeze: You can freeze these wraps individually in foil and then place them in a freezer bag for up to a month.
- Reheating: To reheat, it is best to use an oven or air fryer to maintain the crispiness.
- Air Fryer: 350°F for 3-5 minutes.
- Oven: 375°F for 10-12 minutes.
- Microwave: It will result in a soft, slightly soggy tortilla, but it works in a pinch (1-2 minutes on high).
Fun Facts: The History of the Wrap
Did you know the “wrap” as we know it in Western cuisine became a sensation in the 1990s? While flatbreads have been used to hold fillings for thousands of years in cultures across the globe—from the Mexican burrito to the Greek gyro and the Middle Eastern shawarma—the specific “sandwich wrap” marketing boom occurred relatively recently. It was marketed as a lighter, more modern alternative to the traditional two slices of bread. Today, the wrap has cemented its place as a staple of lunch menus everywhere, beloved for its ability to hold more filling-to-carb ratio than a standard sandwich.
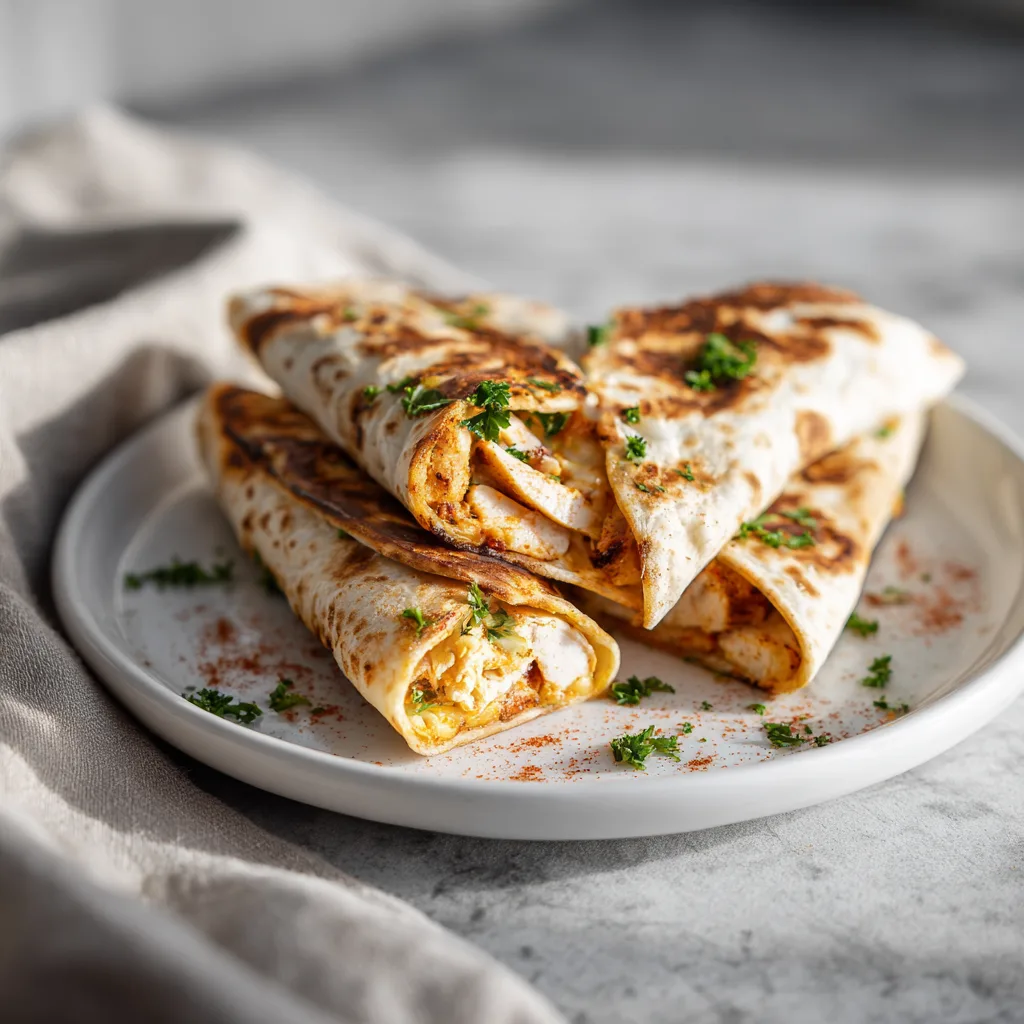
Cheesy Garlic Chicken Wraps
Crispy grilled tortillas filled with seasoned chicken, melted cheese, and a homemade creamy garlic sauce.
Ingredients
Equipment
Method
- In a small bowl, whisk together mayonnaise, sour cream, minced garlic, lemon juice, and parsley. Set aside.
- Dice chicken breast into small cubes. In a bowl, toss chicken with olive oil, paprika, onion powder, garlic powder, oregano, salt, and pepper.
- Heat a large skillet over medium-high heat. Cook chicken for 6-8 minutes until golden and cooked through (165°F). Remove from heat.
- Warm tortillas in the microwave for 20 seconds to make them pliable.
- Assemble wraps: Spread garlic sauce on center of tortilla, top with cooked chicken and shredded cheese.
- Fold in sides, then roll up tightly from the bottom.
- Wipe out the skillet and melt butter over medium heat. Place wraps seam-side down in the pan.
- Grill for 2-3 minutes per side until golden brown and crispy. Serve immediately.
Notes
Don’t overcrowd the pan when cooking chicken to ensure a good sear.
Serving Suggestions
These Cheesy Garlic Chicken Wraps are hearty enough to stand on their own, but if you want to turn this into a full sit-down meal, here are some excellent pairings:
- Sweet Potato Fries: The sweetness of the potato contrasts beautifully with the savory garlic and salty cheese.
- Fresh Green Salad: A light vinaigrette salad cuts through the richness of the creamy sauce and cheese.
- Tomato Soup: Just like a grilled cheese, this toasted wrap dips wonderfully into a bowl of roasted tomato basil soup.
- Corn Salad: A cold corn, black bean, and cilantro salad adds a refreshing, zesty side that complements the Tex-Mex vibes of the tortilla.
Enjoy making these wraps! They are a testament to the fact that simple ingredients, treated with care and combined with the right technique, can produce restaurant-quality results in your own kitchen.