
Follow Me On Social Media!
The Ultimate Guide to Authentic Chinese Sweet and Sour Pork at Home
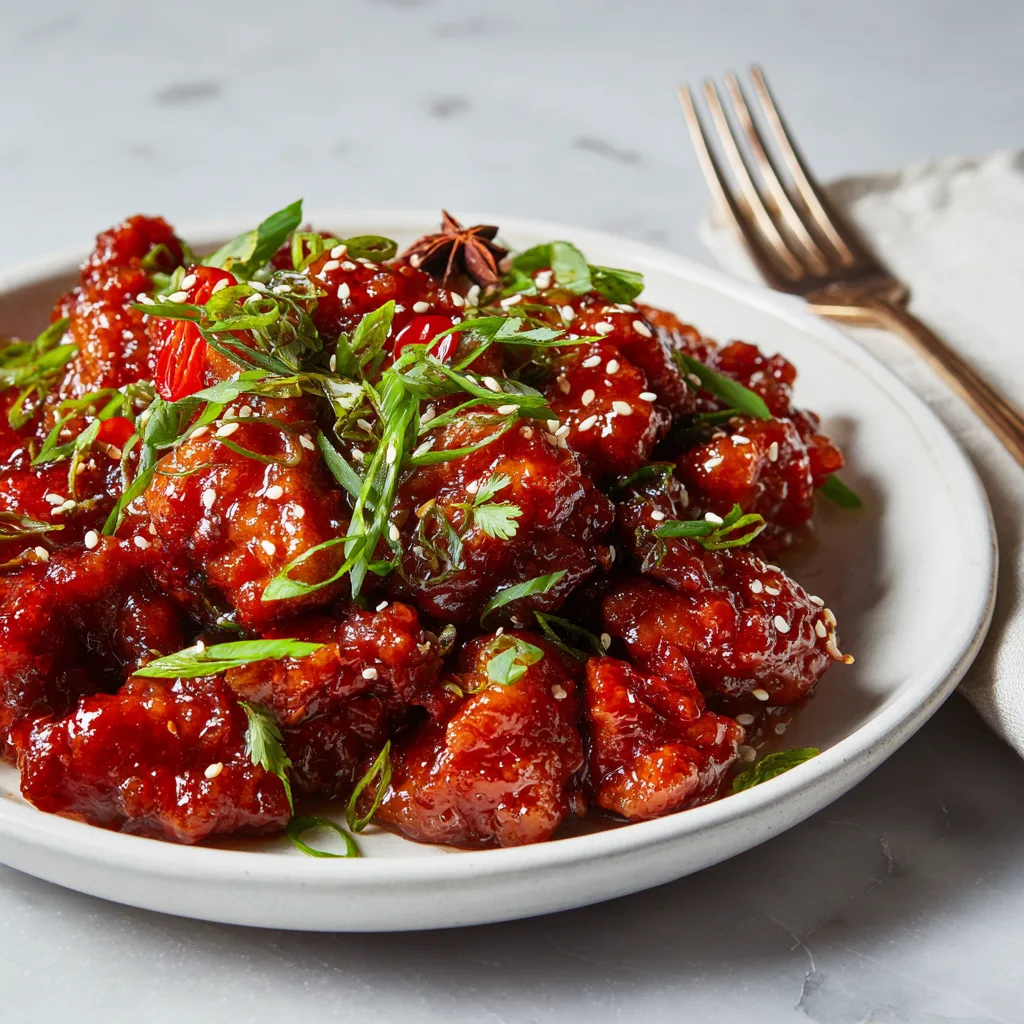
If there is one dish that defines the global phenomenon of Cantonese cuisine, it is undoubtedly Sweet and Sour Pork. It is the quintessential balance of flavors—bright acidity from vinegar, deep sweetness from sugar, and savory richness from soy sauce—all coating perfectly crispy, golden-brown morsels of tender pork. While it’s a staple on takeout menus from London to San Francisco, making it at home is a revelation. The batter is crispier, the sauce is fresher, and the satisfaction of mastering this balance is unmatched.
At Nutri Flavor Guide, we believe that understanding the “why” behind a recipe is just as important as the “how.” In this comprehensive guide, we are going to break down every element of this classic dish, ensuring that your homemade version isn’t just a substitute for takeout, but an upgrade.
The History and Evolution of a Classic
Originating in 18th century Canton (Guangdong), this dish—known traditionally as Goo Lo Yuk—was originally made with vinegar and sugar to tempt the palates of foreigners and locals alike. Over centuries, it has evolved. The Westernized version often leans heavily on ketchup for that iconic ruby-red hue, while traditional recipes might rely more on hawthorn flakes or tamarind. Our recipe bridges the gap, using accessible ingredients to recreate that nostalgic, glossy red sauce that clings perfectly to the meat without turning it soggy immediately.
The Secret to the Perfect Crunch
The biggest complaint about homemade sweet and sour pork is that it loses its crunch the moment it touches the sauce. The solution lies in a technique widely used in Chinese cooking: double frying.
- The First Fry: Cook the pork at a lower temperature to ensure the meat is cooked through and the batter sets.
- The Second Fry: Flash fry the meat at a higher temperature. This drives out excess oil and creates a glass-like shattering crispiness that can withstand the sauce.
Choosing the right starch is also critical. While all-purpose flour provides bulk, cornstarch (or potato starch) is the secret weapon for a light, airy, and intensely crispy crust.
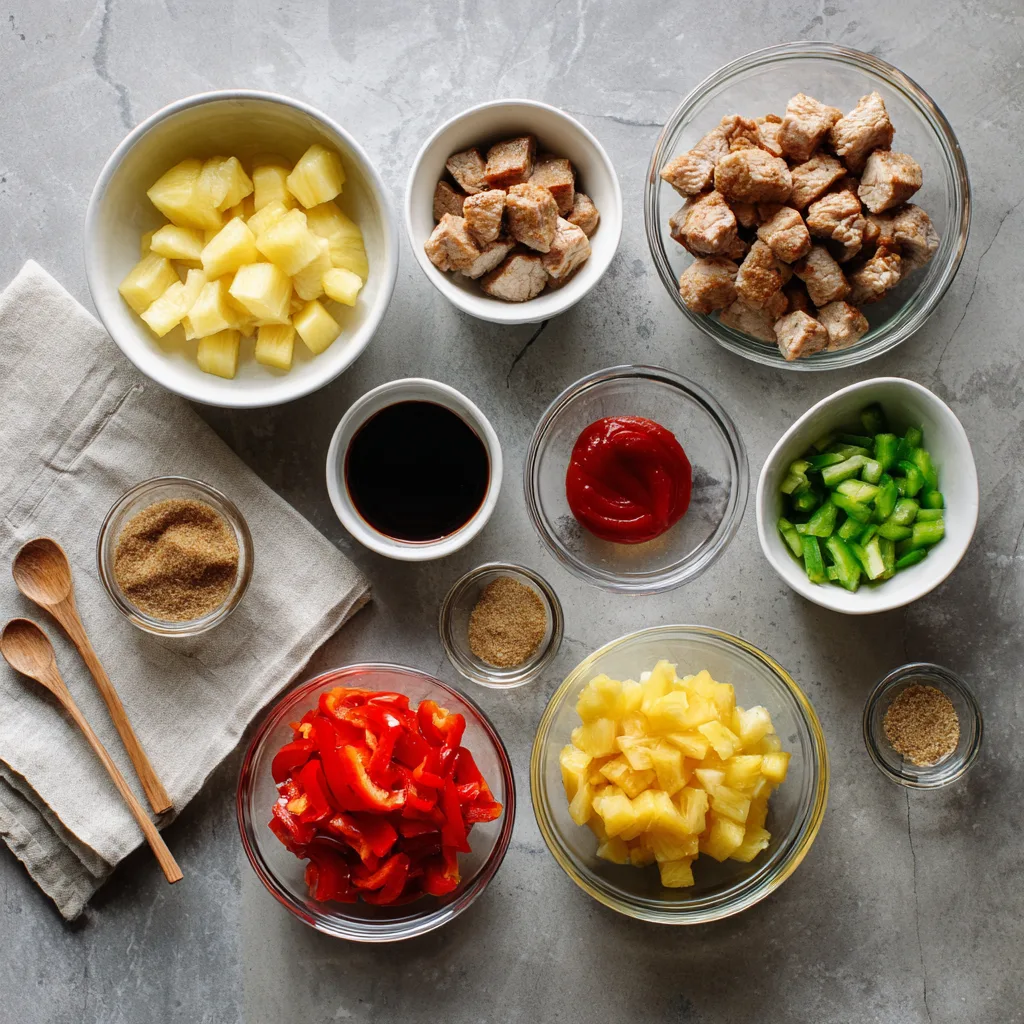
Selecting Your Ingredients
Before we fire up the wok, let’s talk about sourcing.
- The Pork: You want a cut with a bit of fat to keep it juicy during the high-heat frying. Pork shoulder (also known as pork butt) is the gold standard here. It has enough marbling to stay tender, whereas pork loin can dry out if you aren’t careful.
- The Vegetables: The classic trio is green bell pepper, red bell pepper, and onion. They provide a crunch that contrasts with the tender meat.
- The Pineapple: A controversial but essential addition. Pineapple provides enzymes that tenderize the meat and a natural fruity acidity that cuts through the rich fried batter. Fresh is best, but canned works perfectly fine (and you can use the juice in the sauce!).
Ingredients List
For the Pork and Marinade:
- 1 lb (450g) Pork shoulder or pork butt, cut into 1-inch cubes
- 1 tbsp Shaoxing cooking wine (or dry sherry)
- 1 tsp Soy sauce
- 1/2 tsp Salt
- 1/4 tsp White pepper
- 1 Egg white
- 1/2 cup Cornstarch (for coating)
- Oil for deep frying (vegetable, canola, or peanut oil)
For the Sweet and Sour Sauce:
- 1/3 cup Ketchup
- 1/3 cup White sugar
- 1/3 cup White vinegar (or rice vinegar for a milder taste)
- 1 tbsp Soy sauce
- 1/4 cup Water (or pineapple juice)
- 1 tsp Cornstarch mixed with 2 tsp water (slurry)
For the Stir Fry:
- 1/2 Green bell pepper, cut into chunks
- 1/2 Red bell pepper, cut into chunks
- 1/2 Small onion, cut into chunks
- 1/2 cup Pineapple chunks (fresh or canned)
- 1 clove Garlic, minced
Step-by-Step Instructions
1. Marinate the Pork Place your cubed pork in a bowl. Add the Shaoxing wine, soy sauce, salt, white pepper, and egg white. Mix vigorously with your hands until the liquid is absorbed by the meat. Let this sit for at least 20 minutes. This step seasons the meat from the inside out and improves its texture.
2. Coat the Pork Place the cornstarch in a large bowl or a Ziploc bag. Add the marinated pork cubes. Toss well until every piece is coated in a dry, white layer of starch. Shake off any excess powder. The pork should look dry, not wet.
3. The First Fry Heat your oil in a wok or deep pot to 325°F (160°C). Carefully add the pork cubes in batches—do not overcrowd the pot or the temperature will drop. Fry for about 3-4 minutes until the surface is pale yellow and the crust has set. Remove and drain on a wire rack or paper towels. Let the pork rest for 5-10 minutes.
4. The Second Fry (The Crisp Step) Increase the oil heat to 375°F (190°C). Add the pork back into the hot oil. Fry for another 1-2 minutes until the color turns a rich golden brown. This happens fast! Remove immediately and drain.
5. Make the Sauce Base In a small bowl, whisk together the ketchup, sugar, vinegar, soy sauce, and water (or pineapple juice). Taste it. It should make your mouth water—a punchy mix of tart and sweet.
6. Stir Fry the Vegetables Pour out the frying oil, leaving about 1 tablespoon in the wok. Heat over high heat. Add the minced garlic, onions, and bell peppers. Stir fry for 1 minute until fragrant but still crisp. Add the pineapple chunks and toss for another 30 seconds.
7. Thicken the Sauce Pour the sauce mixture into the wok with the vegetables. Let it bubble and simmer. Give your cornstarch slurry a quick mix and drizzle it in while stirring. The sauce will instantly gloss up and thicken.
8. The Final Toss This is the most crucial step. Toss the double-fried pork into the wok. Quickly toss everything together so the sauce coats every piece of pork. Do this for no more than 30 seconds. You want the pork coated, not soaked. Serve immediately.
Tips for Success
- Oil Temperature: If you don’t have a thermometer, use a wooden chopstick. Stick it in the oil; if bubbles form steadily around the wood, you are ready for the first fry. If they bubble furiously, it’s ready for the second fry.
- Don’t Skip the Rest: Letting the pork rest between fries allows the moisture inside the meat to redistribute, preventing the crust from getting soggy from steam later.
- Sauce Consistency: The sauce should be tight. If it’s too runny, it will wash off the batter. It should be thick enough to cling like a glaze.
Variations to Try
- Protein Swap: This batter and sauce work incredibly well with chicken breast, shrimp, or even firm tofu for a vegetarian option.
- Spicy Kick: Add a teaspoon of chili flakes or Sriracha to the sauce mixture for a “Sichuan style” sweet and sour heat.
- No Red Dye: Traditional recipes don’t use dye. The ketchup provides plenty of red color naturally. If you want it a deeper red without dye, try adding a teaspoon of beet juice.
Serving Suggestions
Sweet and Sour Pork is intense in flavor, so it pairs best with neutral sides.
- Steamed Jasmine Rice: The perfect canvas to soak up extra sauce.
- Egg Fried Rice: For a more indulgent meal.
- Garlic Bok Choy: A green vegetable side helps cleanse the palate between rich bites.
Cultural Context
In Chinese culture, whole fish cooked in sweet and sour sauce is often served at New Year celebrations because the word for fish (yu) sounds like the word for abundance. However, the pork version has become the everyday comfort food hero. It represents the perfect harmony of yin (sour/cooling) and yang (sweet/heating) flavors, a core principle of Chinese culinary philosophy.
Frequently Asked Questions
Can I make this ahead of time? You can prep the vegetables and mix the sauce ahead of time. You can even marinate the meat. However, the frying should be done just before serving to maintain crispiness. If you must reheat, use an air fryer or oven, not a microwave.
Why is my batter falling off? This usually happens if the oil wasn’t hot enough or if the pork was too wet when it went into the cornstarch. Ensure you shake off excess marinade before dusting.
Is this gluten-free? The sauce is gluten-free if you use Tamari instead of soy sauce. The batter relies on cornstarch, which is naturally gluten-free, but check your baking powder (if adding) and ensure no flour cross-contamination occurred.
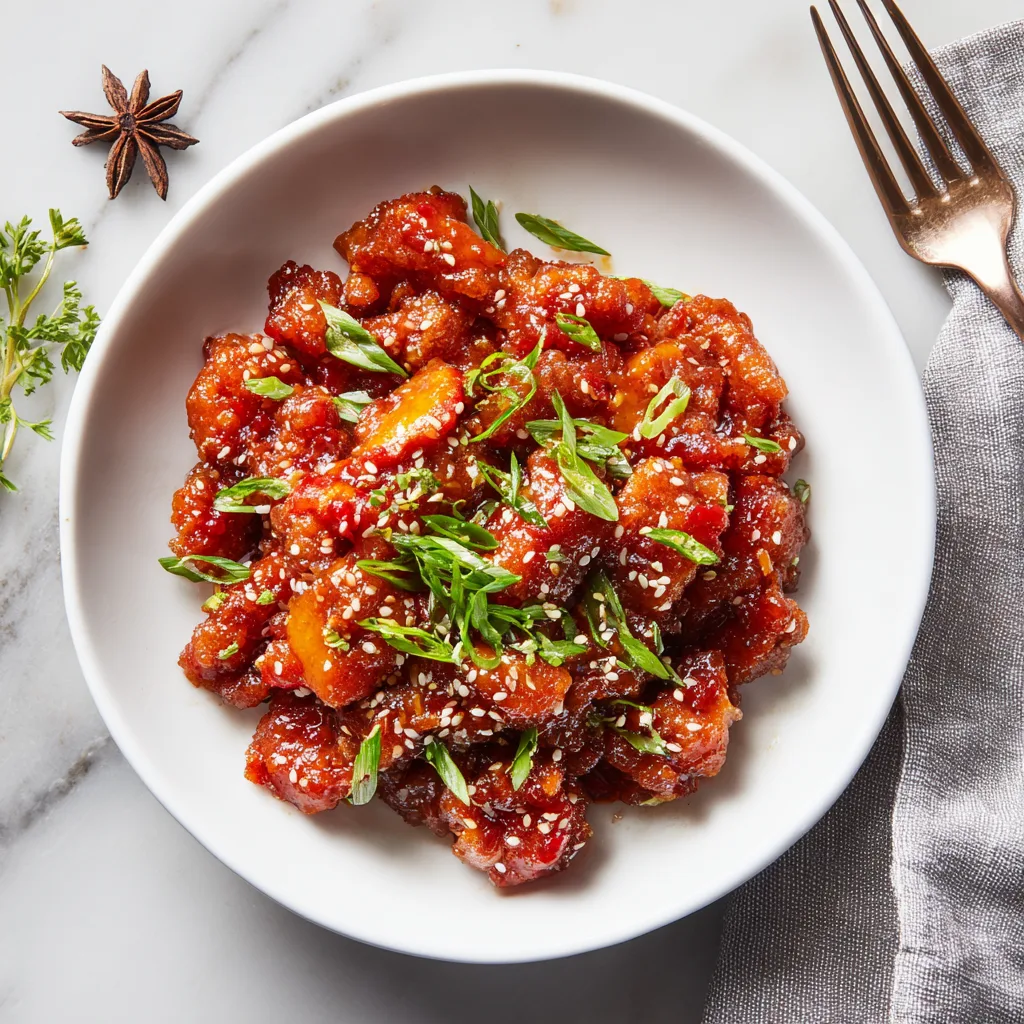
Chinese Sweet and Sour Pork
Authentic Cantonese-style sweet and sour pork with a double-fried crispy batter and a perfectly balanced tangy glaze.
Ingredients
Equipment
Method
- Combine pork cubes with marinade ingredients (wine, soy sauce, egg white, salt). Let sit for 20 minutes.
- Dredge marinated pork in cornstarch until fully coated and dry.
- Heat oil to 325°F. Fry pork in batches for 3-4 minutes until pale golden. Remove and drain.
- Increase heat to 375°F. Return pork to oil and flash fry for 1-2 minutes until crispy and golden brown. Drain.
- In a separate wok, stir fry vegetables and pineapple for 2 minutes.
- Whisk sauce ingredients (ketchup, sugar, vinegar, soy sauce) and add to the pan. Simmer until thickened.
- Toss the fried pork into the sauce quickly to coat. Serve immediately.
Notes
Ensure oil is hot enough for the second fry to maximize crispiness.
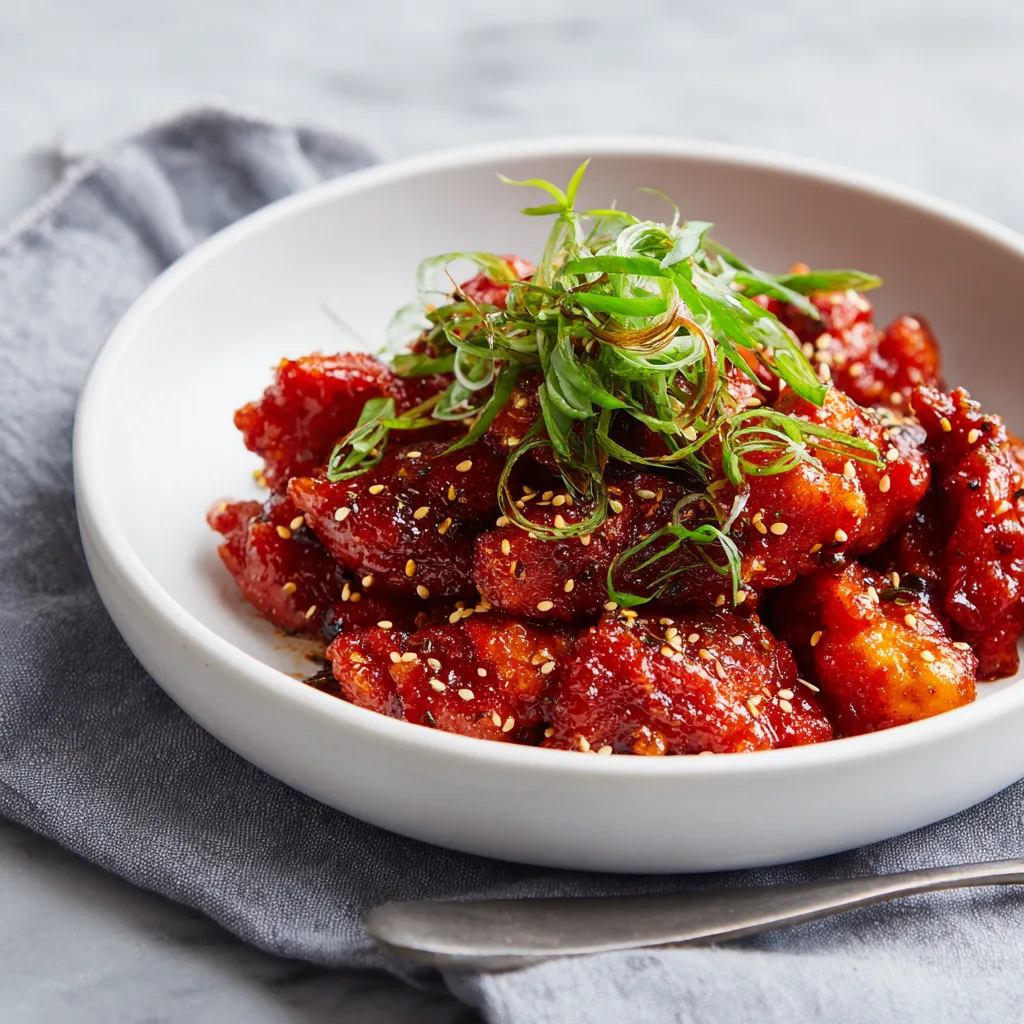
Conclusion
Making Sweet and Sour Pork at home is a fun, rewarding process that yields results far superior to the average takeout box. The contrast between the crunchy batter, the juicy pork, and the sticky, tangy glaze is a texture lover’s dream. We hope this guide from Nutri Flavor Guide inspires you to bring the wok out and start frying!